

![]()
This blog post is going to cover how Docker Compose can be used with Azure WebApps to streamline container deployments and their management. Docker Compose is a tool for defining and running multi-container Docker applications. With Compose, you use a YAML file to configure your application’s services. Then, with a single command, you create and start all the services from your configuration.
This blog talks about technologies that are part of the Azure DevOps environment. If it’s something in which you have an interest or you want to learn it then you can visit our previous blog to know more about the [AZ-400] Microsoft Azure DevOps certification.
Note : Do Check Our Blog on Azure Policy Compliance .
Compose works in all environments: production, staging, development, testing, as well as CI workflows.
Using Compose is a three-step process:
- Define your app’s environment with a
Dockerfileso it can be reproduced anywhere. - Define the services that make up your app in
docker-compose.ymlso they can be run together in an isolated environment. - Run
docker-compose upand Compose starts and runs your entire app.
Note : Checkout Our Post on Veracode.
A sampledocker-compose.yml looks like this:
version: '2'

services:
  web:
    build: .
    ports:
     - "5000:5000"
    volumes:
     - .:/code
  redis:
    image: redis
Compose has commands for managing the whole lifecycle of your application:
- Start, stop and rebuild services
- View the status of running services
- Stream the log output of running services
- Run a one-off command on a service
Also check: Our Blog on Azure Pipelines vs Jenkins
Create A Multi-Container Azure WebApp Using Docker Compose
Web App for Containers provides a flexible way to use Docker images. In this tutorial, you’ll learn how to create a multi-container app using WordPress and MySQL.
We will complete this tutorial in Cloud Shell, but we can also run these commands locally with the Azure CLI command-line tool.
- In Cloud Shell, create a tutorial directory and then change to it.
mkdir tutorial
cd tutorial

- Next, we can run the following command to clone the sample app repository to your tutorial directory. Then change to the
multicontainerwordpressdirectory.
git clone https://github.com/Azure-Samples/multicontainerwordpress
cd multicontainerwordpress

- Create a new Resource Group in Azure cloud for this demo purpose, maybe we can use the location such as “East US” or “Central US”.
az group create — name myResourceGroup — location “East US”

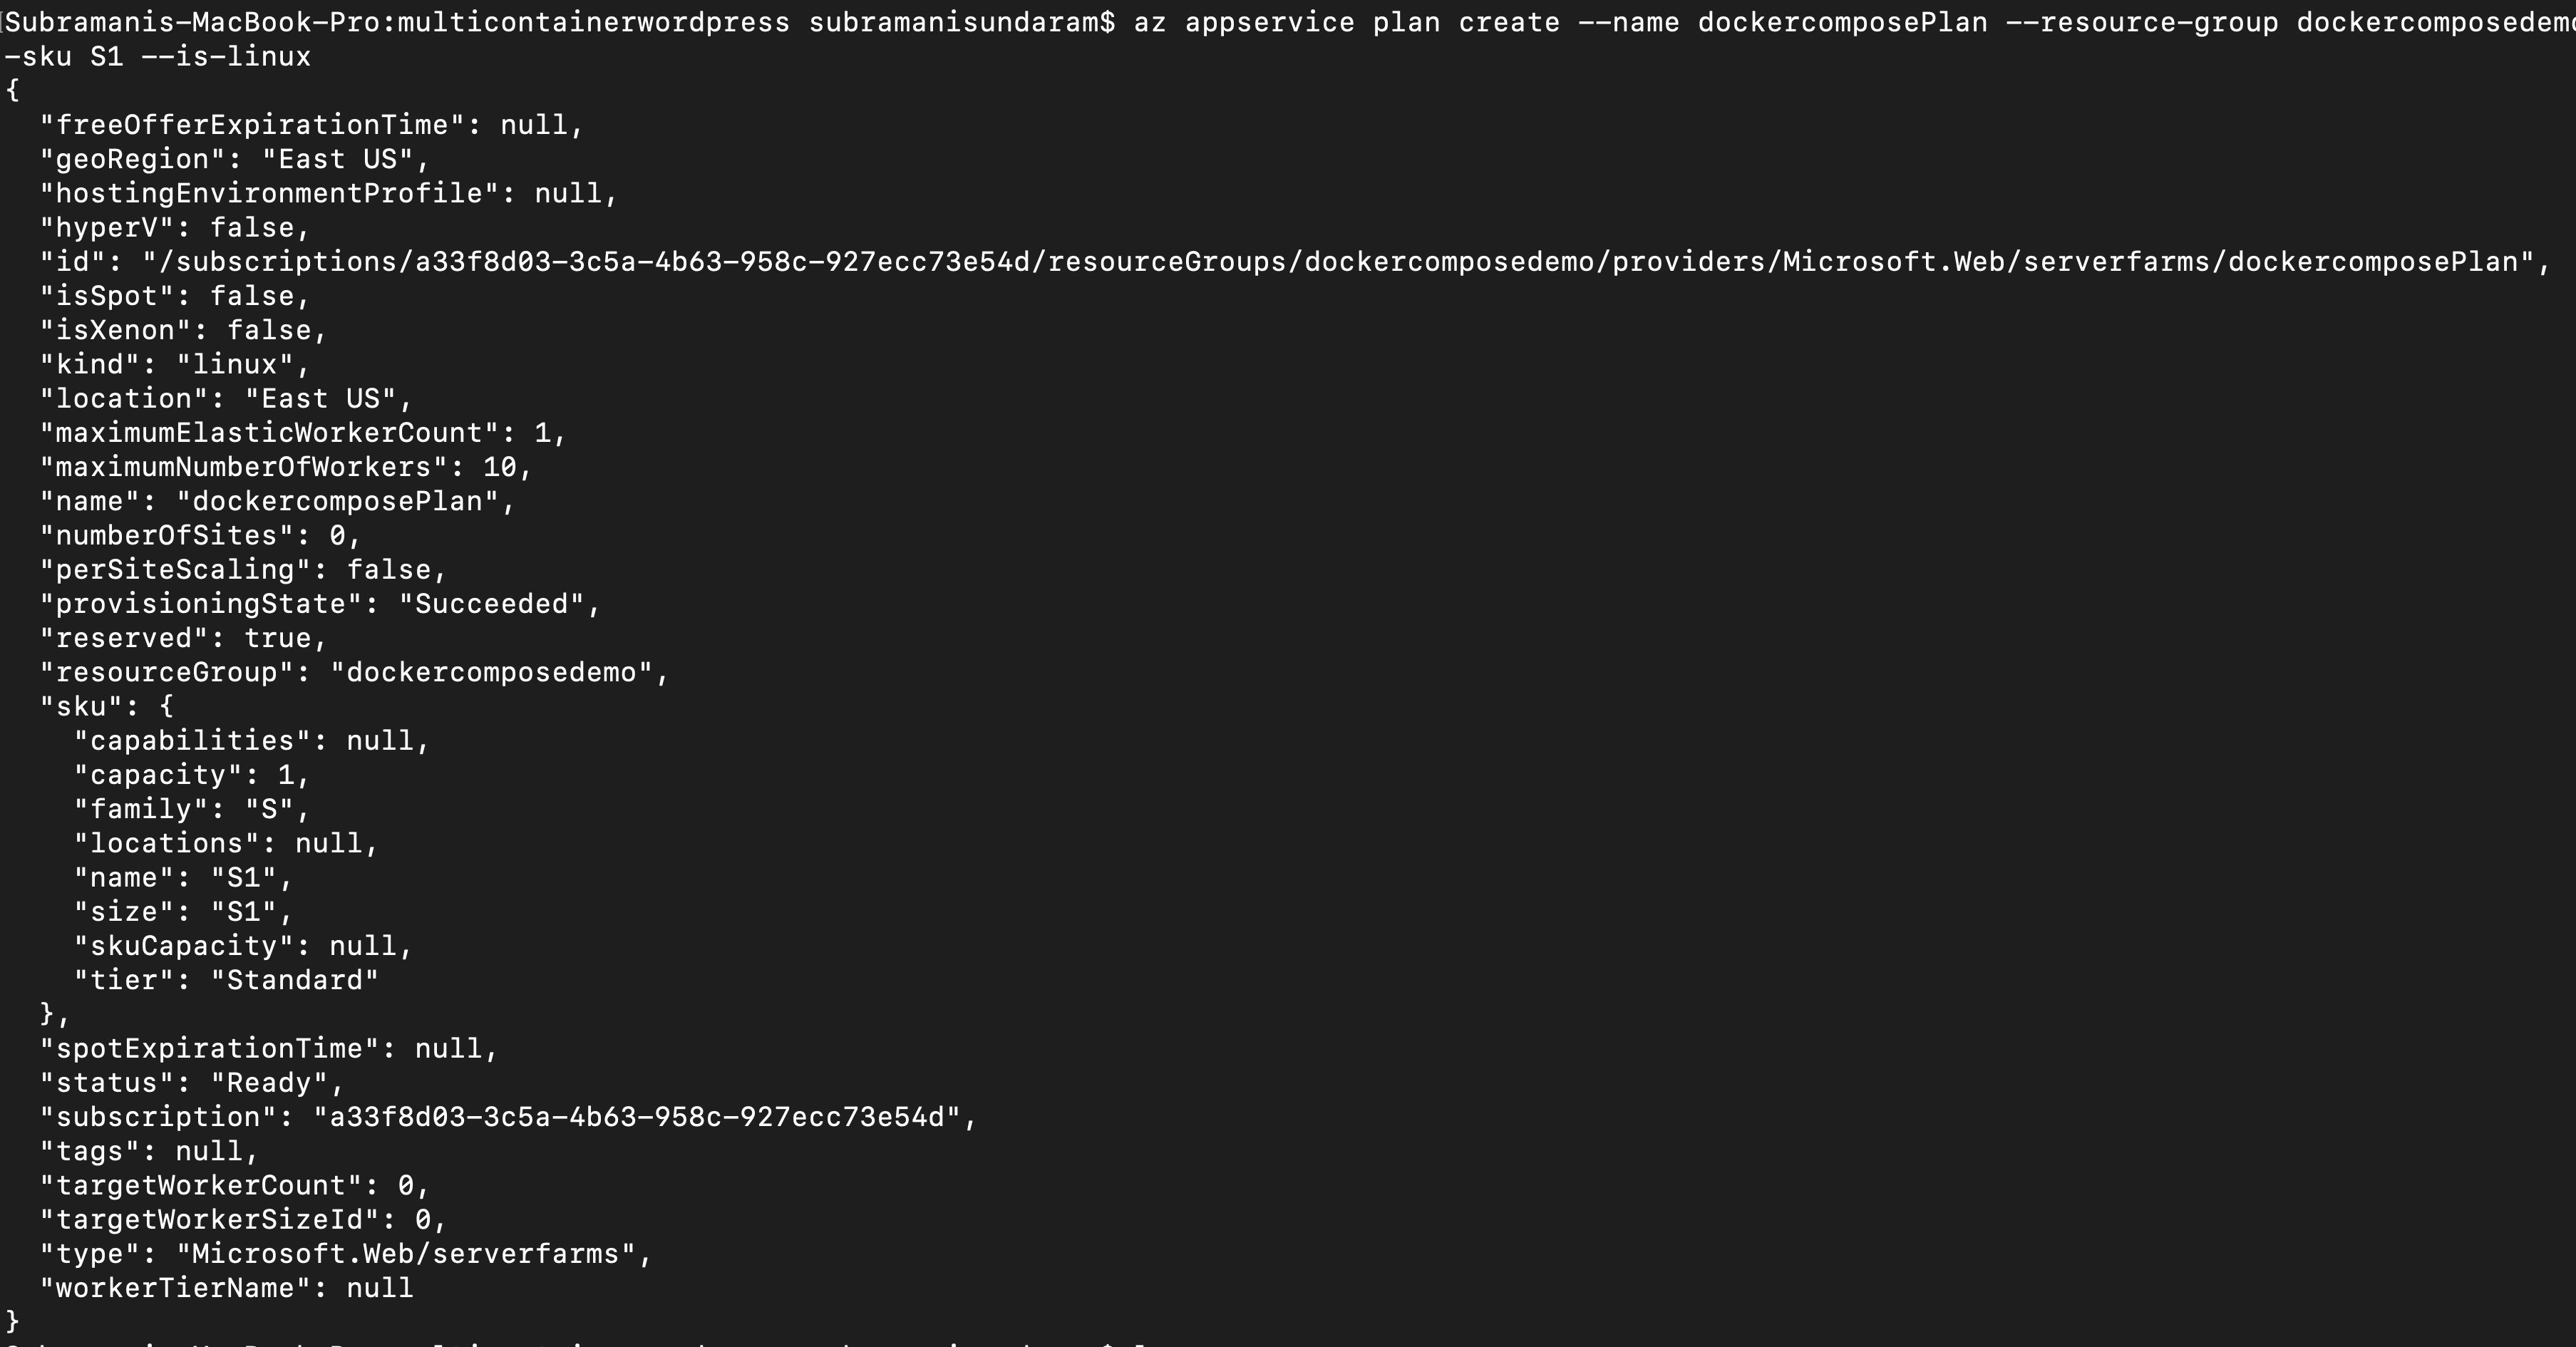
- Next, we need to create a new App Service plan since for the web app and functions app the ASP is mainly needed. In this case, we need to use the Linux plan accordingly.
az appservice plan create — name myAppServicePlan — resource-group myResourceGroup — sku S1 — is-linux
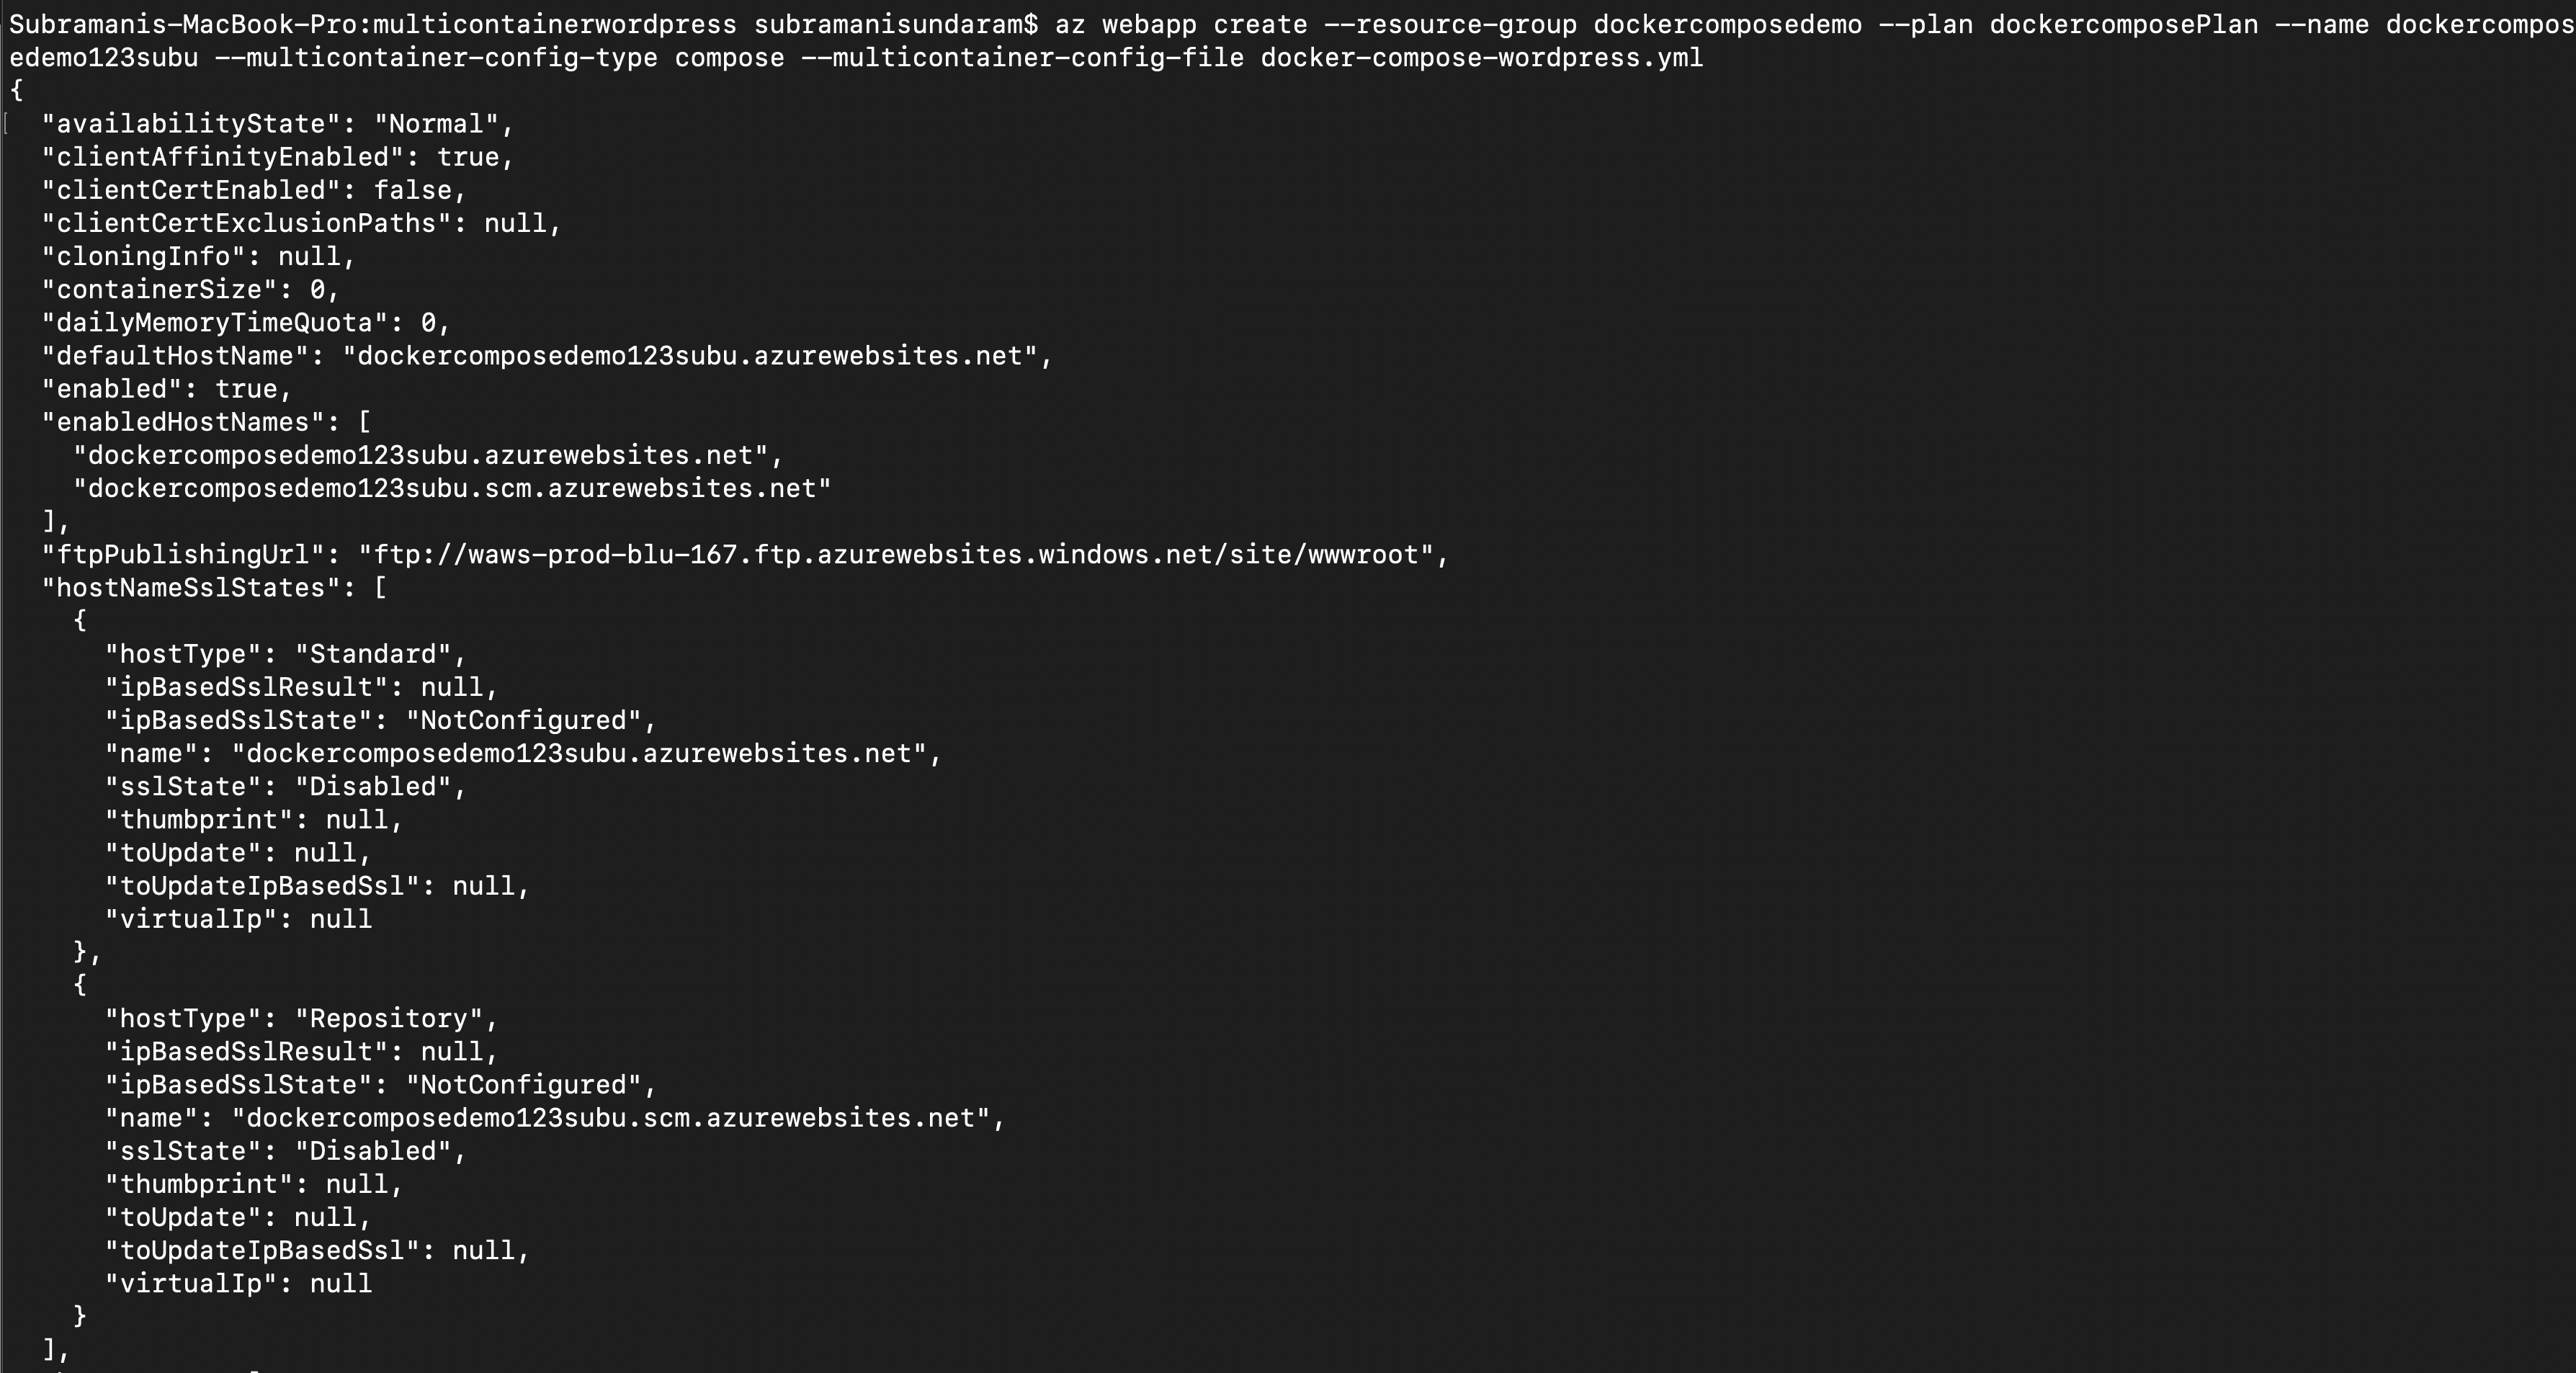
- The next step is to create a new Docker Compose web app from the compose file that we have cloned from the GIT repo. we can use the below CLI commands.
az webapp create — resource-group myResourceGroup — plan myAppServicePlan — name <app-name> — multicontainer-config-type compose — multicontainer-config-file docker-compose-wordpress.yml

Note: Check out Our Blog on Devsecops Git Secrets Scanning.
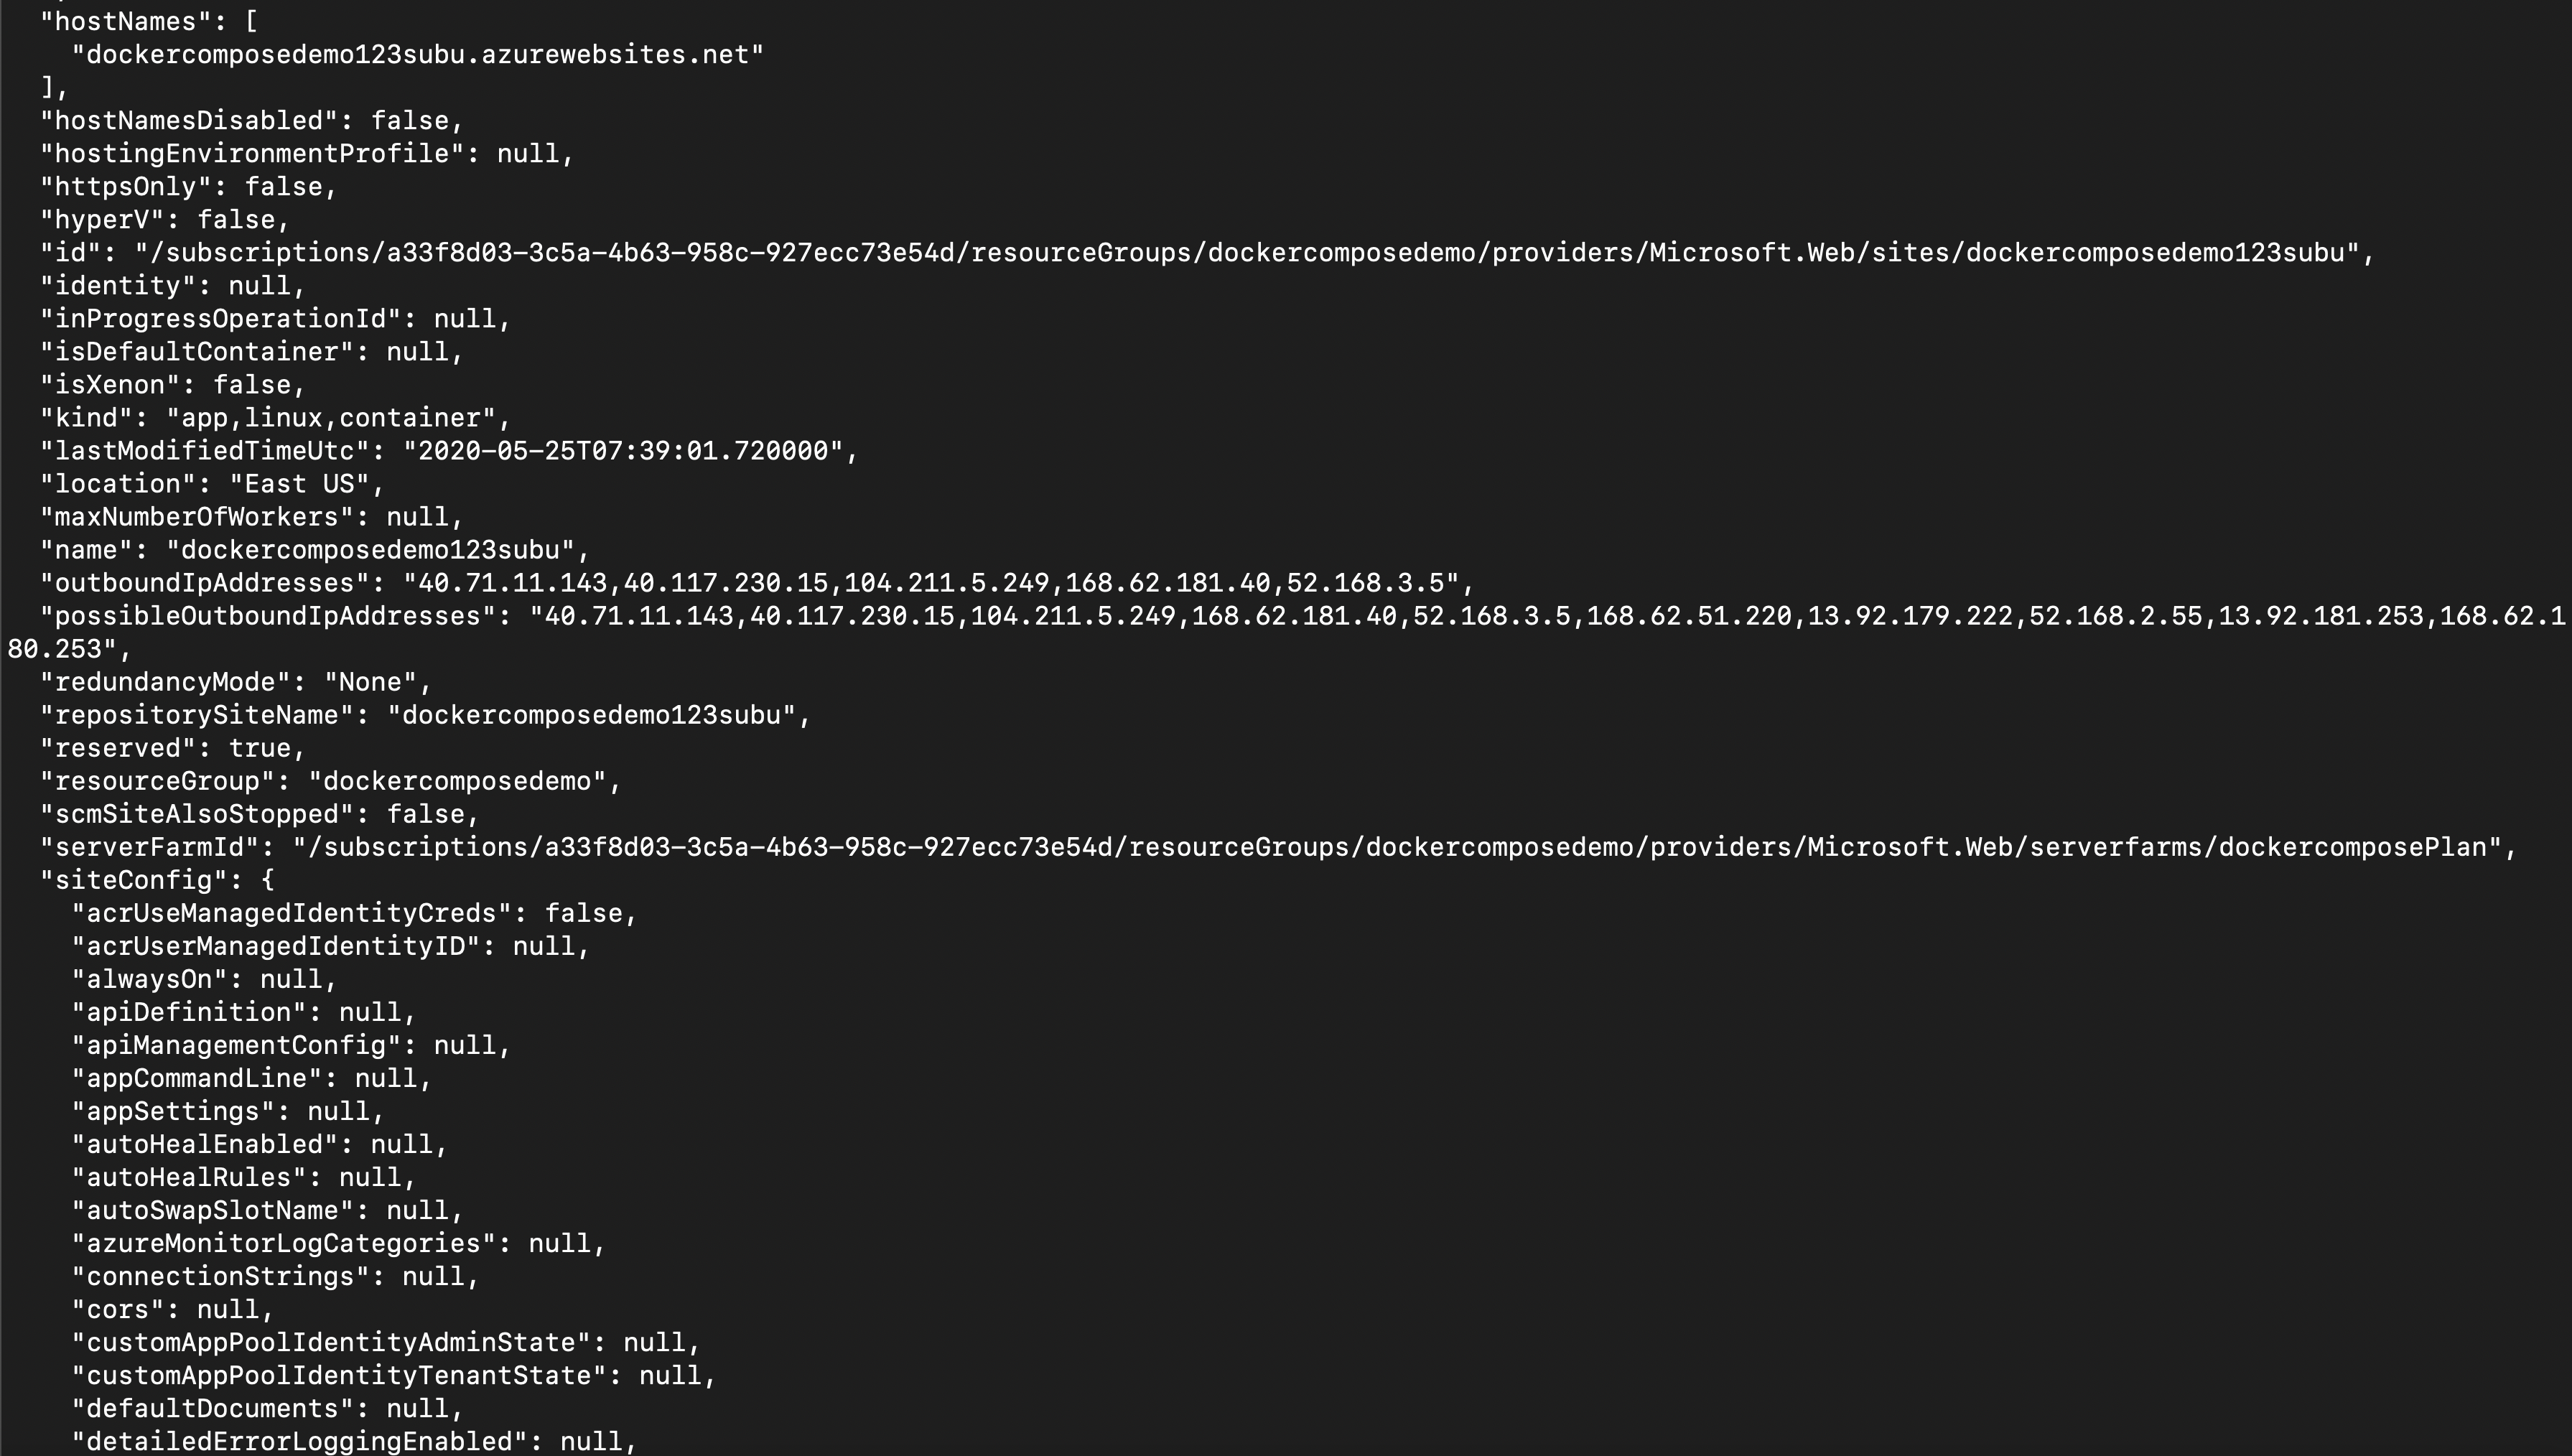
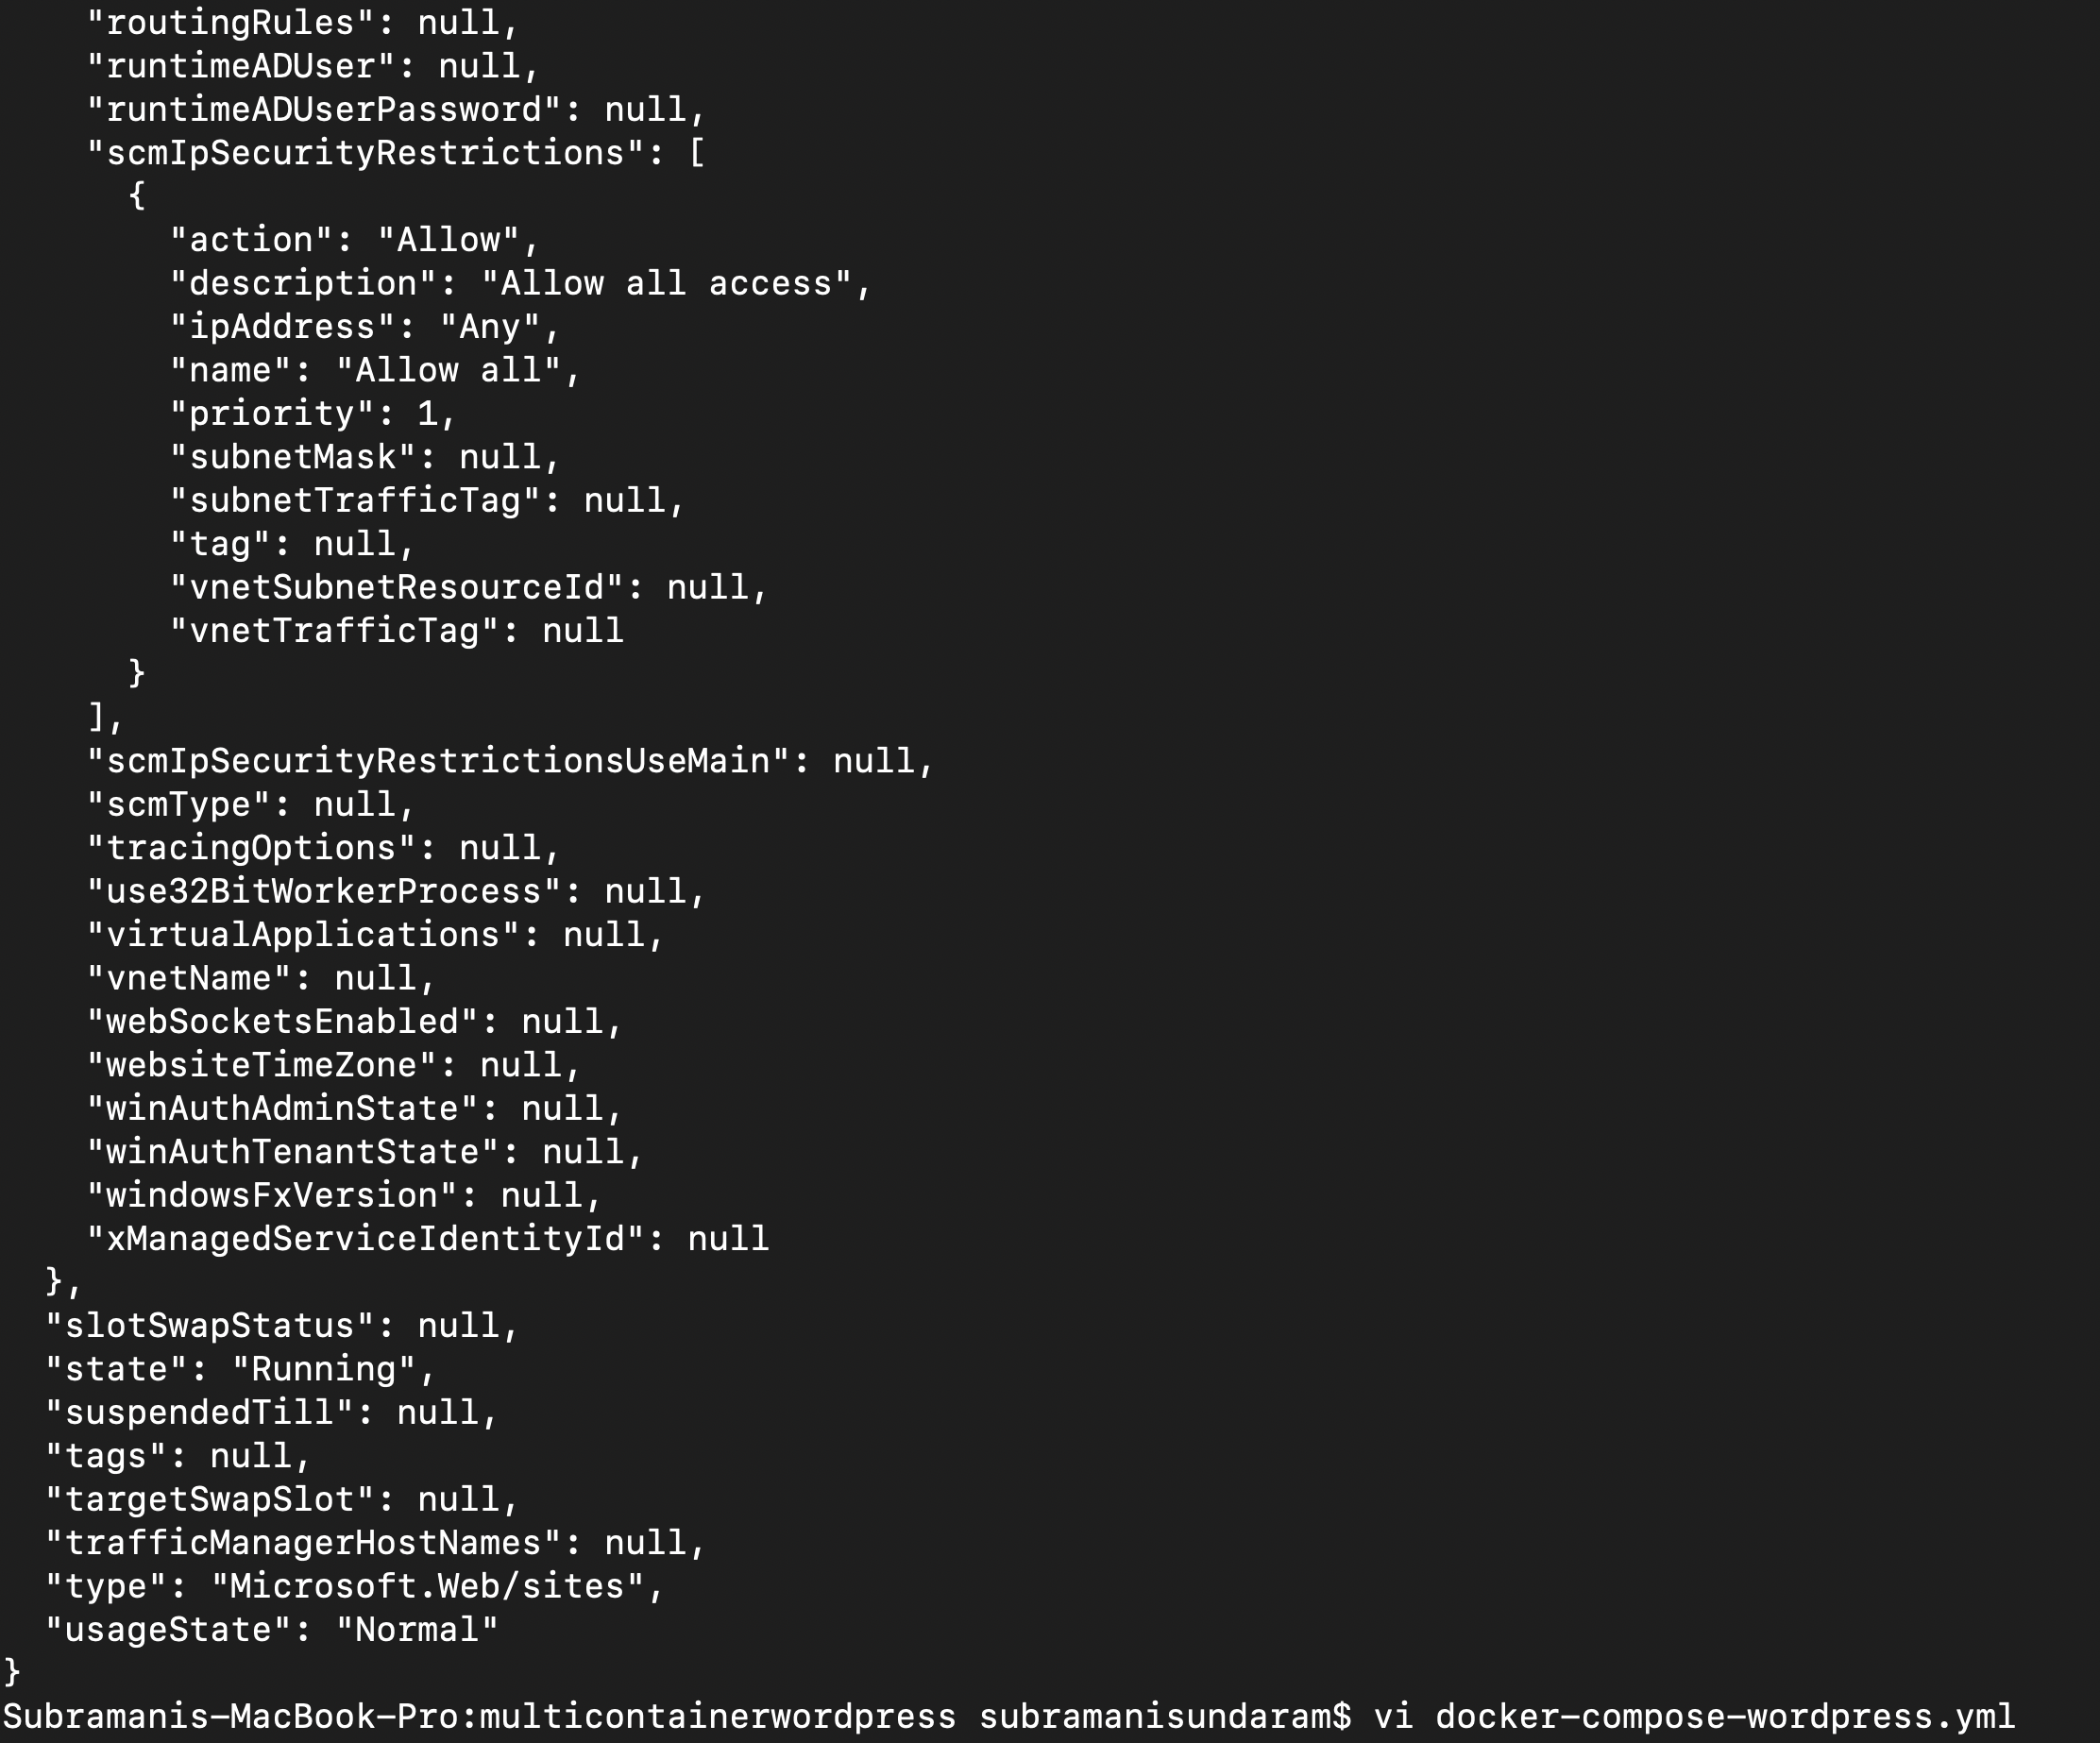
Once the above steps are completed, we can see the output by the below way :
Browse to the deployed app at (
http://<app-name>.azurewebsites.net). The app may take a few minutes to load. If you receive an error, allow a few more minutes refresh the browser.
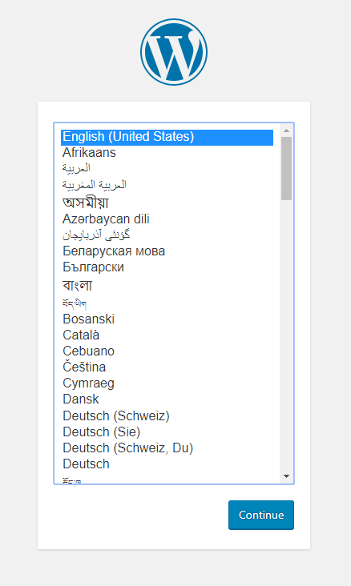 Congratulations, you’ve created a multi-container app in Web App for Containers.
Connecting The MYSQL Database To The WebApp
We need to configure your app to use the Azure Database for MySQL. Before that, we should not install WordPress as in the compose file we have the DB credentials.
- We need to go to the same Azure Resource Group and then start creating the MS-SQL DB.
az mysql server create — resource-group myResourceGroup — name <mysql-server-name> — location “South Central US” — admin-user adminuser — admin-password My5up3rStr0ngPaSw0rd! — sku-name B_Gen4_1 — version 5.7
Creating the server may take a few minutes to complete. When the MySQL server is created, we can see it in our Resource Group.
- We need to add the Firewall into the SQL DB, as this is the main step since we need to connect from any source to the destination.
We can create a firewall rule for our MySQL server to allow client connections by using theaz mysql server firewall-rule create command. When both starting IP and end IP are set to 0.0.0.0, the firewall is only opened for other Azure resources.
az mysql server firewall-rule create — name allAzureIPs — server <mysql-server-name> — resource-group myResourceGroup — start-ip-address 0.0.0.0 — end-ip-address 0.0.0.0
- Next is we need to create our WordPress DB from the MySQL which we created on step 2.
az mysql db create — resource-group myResourceGroup — server-name <mysql-server-name> — name wordpress
Also Check: Our blog post on Top DevSecOps Tools. Click here
Configure MySQL Database Variables In WordPress
To connect the WordPress app to this new MySQL server, you’ll configure a few WordPress-specific environment variables, including the SSL CA path defined by MYSQL_SSL_CA.
az webapp config appsettings set — resource-group myResourceGroup — name <app-name> — settings WORDPRESS_DB_HOST=”<mysql-server-name>.mysql.database.azure.com” WORDPRESS_DB_USER=”adminuser@<mysql-server-name>” WORDPRESS_DB_PASSWORD=”My5up3rStr0ngPaSw0rd!” WORDPRESS_DB_NAME=”wordpress” MYSQL_SSL_CA=”BaltimoreCyberTrustroot.crt.pem”
Browse to the deployed app at (
http://<app-name>.azurewebsites.net). The app is now using Azure Database for MySQL.
Add Persistent Storage To The Azure WebApp
Your multi-container is now running in Web App for Containers. However, if you install WordPress now and restart your app later, you’ll find that your WordPress installation is gone. This happens because your Docker Compose configuration currently points to a storage location inside your container.
- To use persistent storage, you’ll enable this setting within App Service. To make this change, use the az webapp config appsettings set command in Cloud Shell.
az webapp config appsettings set — resource-group myResourceGroup — name <app-name> — settings WEBSITES_ENABLE_APP_SERVICE_STORAGE=TRUE
- In the Cloud Shell, type
vi docker-compose-wordpress.ymlto open the vi editor.
The volumes option maps the file system to a directory within the container. ${WEBAPP_STORAGE_HOME} is an environment variable in App Service that is mapped to persistent storage for your app.
We can use this environment variable in the volumes option so that the WordPress files are installed into persistent storage instead of the container.
version: '3.3'services:
   wordpress:
     image: microsoft/multicontainerwordpress
     volumes:
      - ${WEBAPP_STORAGE_HOME}/site/wwwroot:/var/www/html
     ports:
       - "8000:80"
     restart: always
az webapp config container set — resource-group myResourceGroup — name <app-name> — multicontainer-config-type compose — multicontainer-config-file docker-compose-wordpress.yml
Browse to the deployed app at (
http://<app-name>.azurewebsites.net).The WordPress container is now using Azure Database for MySQL and persistent storage.
Also Read: Our blog post on Azure DevOps Environment Setup. Click here
Find WebApp Docker Container Logs
If you run into issues using multiple containers, you can access the container logs by browsing to:
https://<app-name>.scm.azurewebsites.net/api/logs/docker.
You’ll see output similar to the following example:
[
   {
      "machineName":"RD00XYZYZE567A",
      "lastUpdated":"2018-05-10T04:11:45Z",
      "size":25125,
      "href":"https://<app-name>.scm.azurewebsites.net/api/vfs/LogFiles/2018_05_10_RD00XYZYZE567A_docker.log",
      "path":"/home/LogFiles/2018_05_10_RD00XYZYZE567A_docker.log"
   }
]
You see a log for each container and an additional log for the parent process.
Delete the Resources After Demo
After the demo is completed, we can remove the resource group and all resources associated with it. So that we can save cost and time effectively.
Related/References
- [AZ-400] Azure DevOps Certification Path
- [AZ-400] Roles And Responsibilities As An Azure DevOps Engineer
- [AZ-400] Microsoft Azure DevOps Certification Exam: Everything You Need To Know
- [AZ-400] Microsoft Azure DevOps Training: Step By Step Activity Guides/Hands-On Lab Exercise
- [AZ-400] Azure DevOps Services for Beginners
- [AZ-400] Designing and Implementing Microsoft DevOps Solutions [Official Page]
- Azure DevOps Service Hooks | Subscription Of Service Hooks | Release Approvals
- SonarCloud Azure DevOps | Integrating SonarCloud In Azure
- Azure DevOps Environments | How To Setup DevOps Environment | Approval Checks | Azure DevOps Pipeline
Next Task For You
Begin your journey toward Mastering Azure Cloud and landing high-paying jobs. Just click on the register now button on the below image to register for a Free Class on Mastering Azure Cloud: How to Build In-Demand Skills and Land High-Paying Jobs. This class will help you understand better, so you can choose the right career path and get a higher paying job.


![AWS DevOps [DOP-C02] Professional Step By Step Activity Guides (Hands-On Labs)](https://k21academy.com/wp-content/uploads/2023/02/DOP-C02-1.png)