![]()
In this blog, we are going to cover the case study on Blue-Green Deployments Using AWS Elastic Beanstalk which we will be discussing in detail in our AWS Certified DevOps Engineer Professional FREE CLASS.
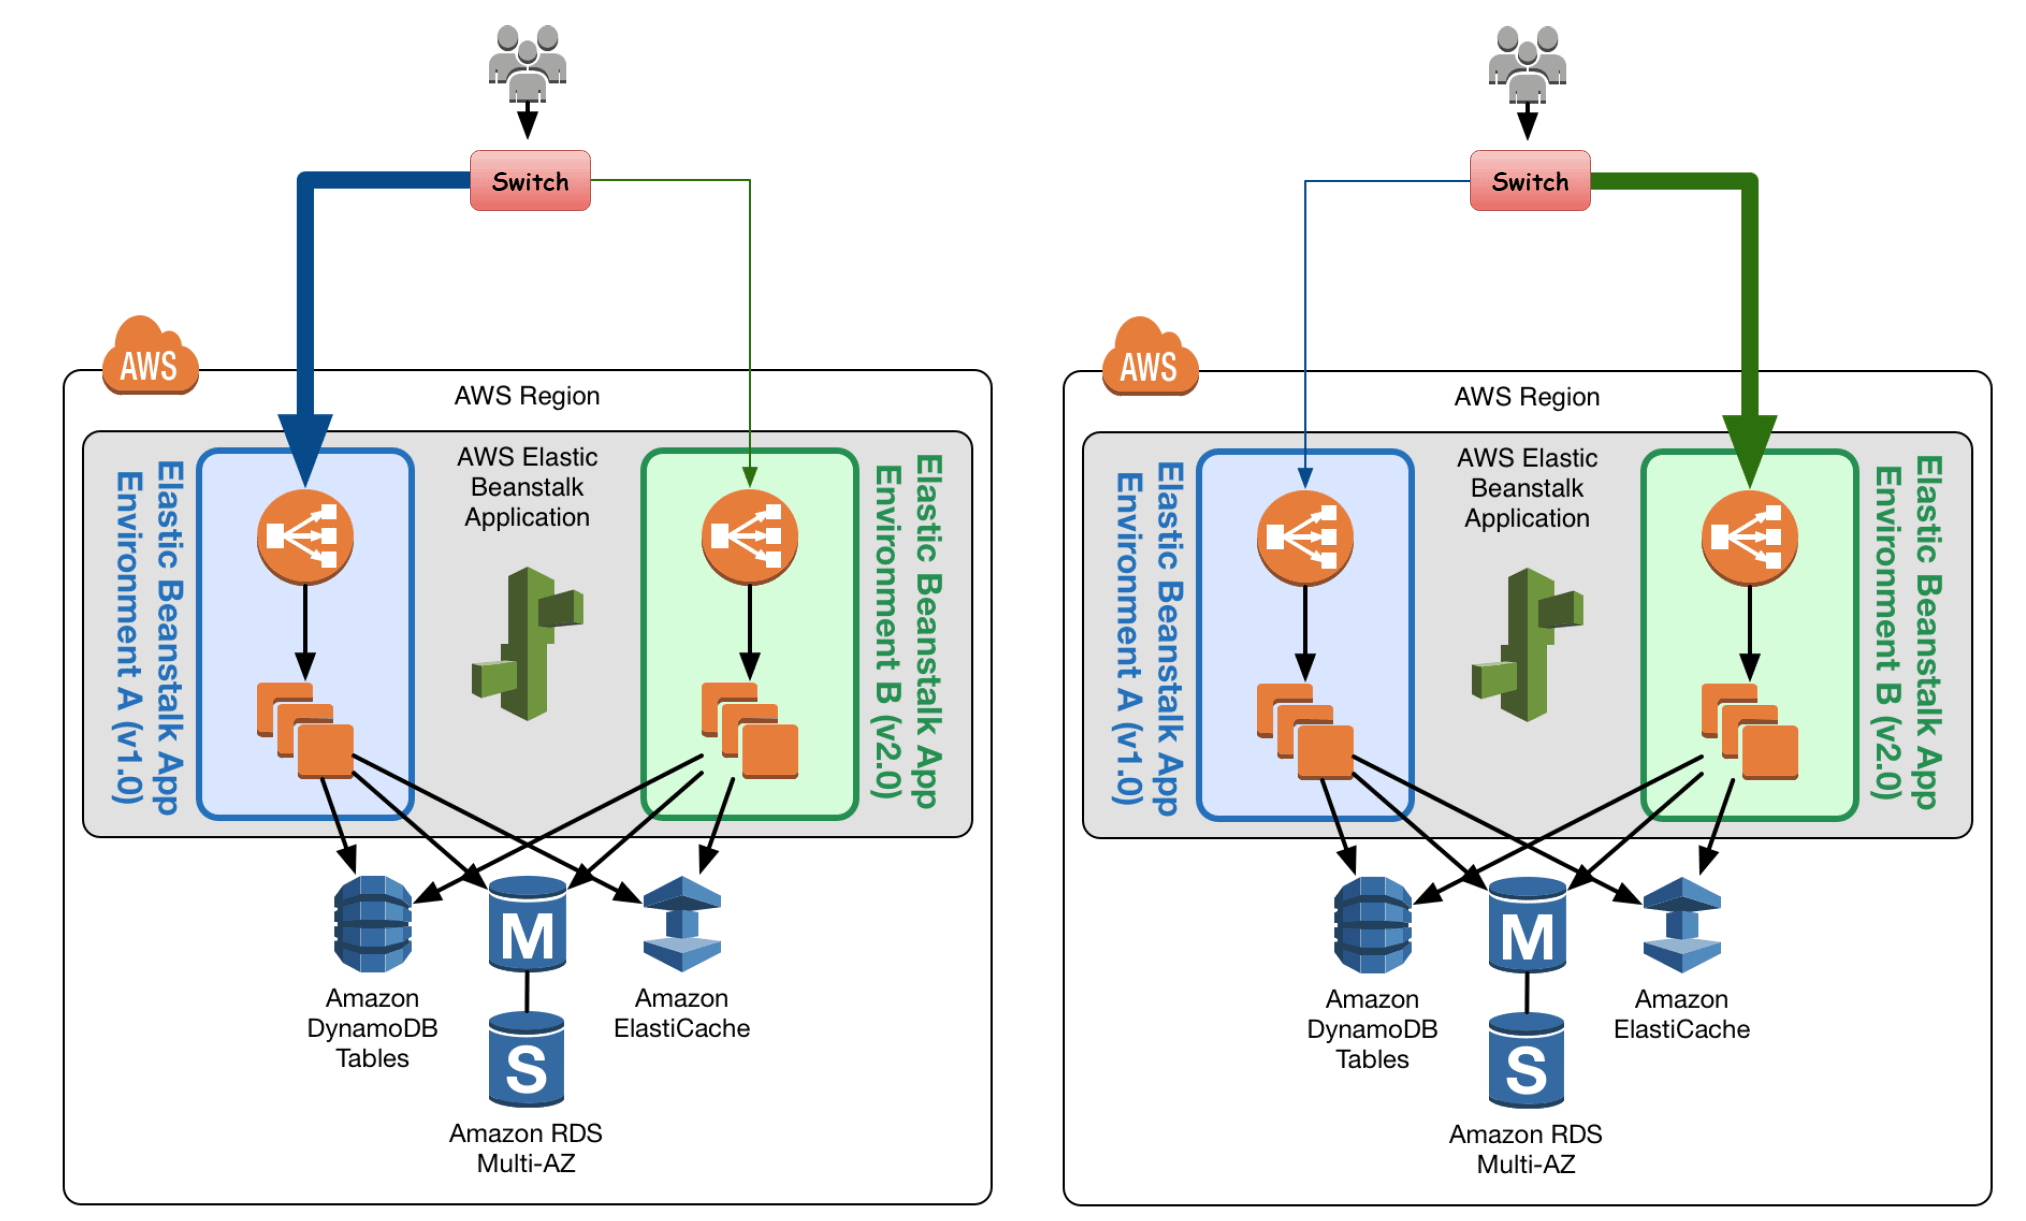
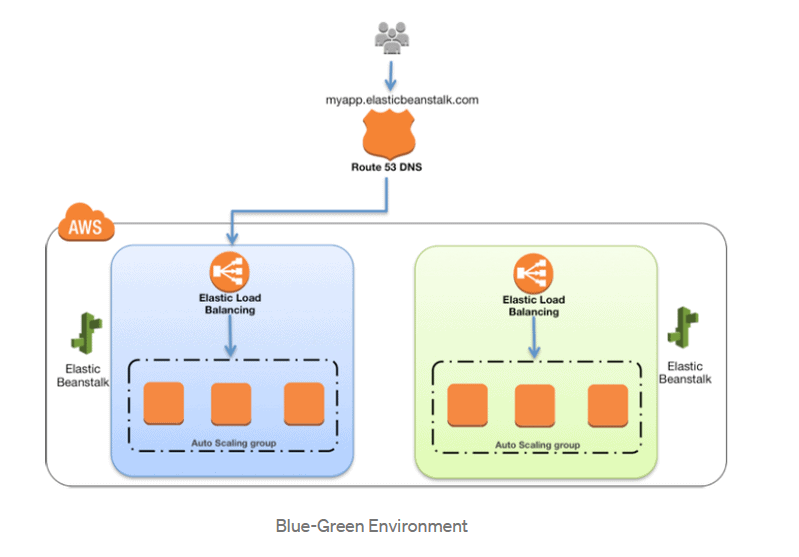
The following diagram shows the logical components such as the Elastic Beanstalk Blue Environment consisting of Live traffic and Green Environment with updated version of the Application, Database and Cache Engines attached to both of them and shifting of live traffic from Blue to Green.
 Topics we will cover :
- Overview of Blue-Green Deployments
- What is AWS Elastic Beanstalk?
- Blue-Green Deployments in Elastic Beanstalk
- Base Scenario (Use Case)
- Step by Step Elastic Beanstalk Deployment Using Blue-Green
Before performing the blue-green deployment Hands-on, we should understand the basic concepts of Blue-Green Deployments, Elastic Beanstalk, understand the deployments in Elastic Beanstalk.
Overview of Blue-Green Deployments
- A blue-green deployment is a management approach for releasing software code.
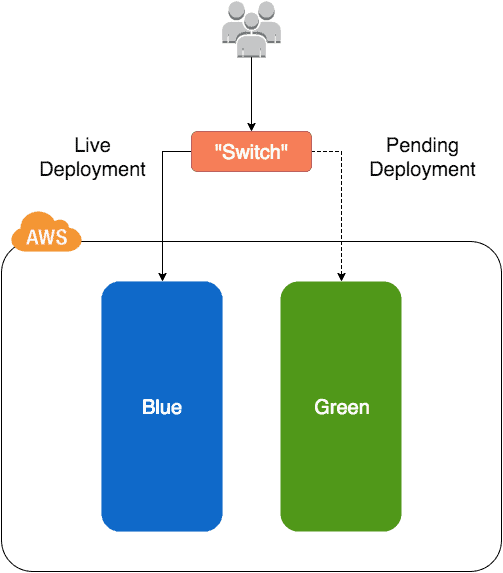
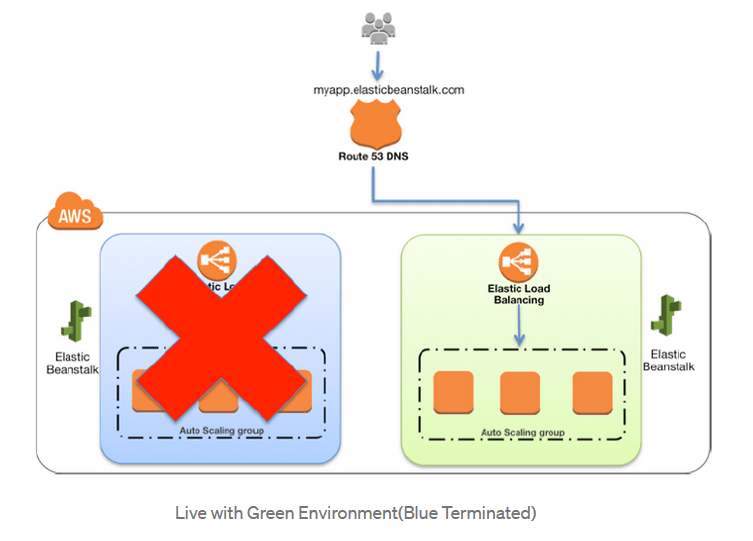
- Only one of the environments is life at a single time, where the live environment serves all the production traffic. For example, if blue is currently live then green would be idle and vice-versa.
- Blue-green deployments are usually utilized for consumer-facing applications and applications which have critical uptime requirements. The new code is delivered to the inactive environment, where it’s completely tested.
What Is AWS Elastic Beanstalk?
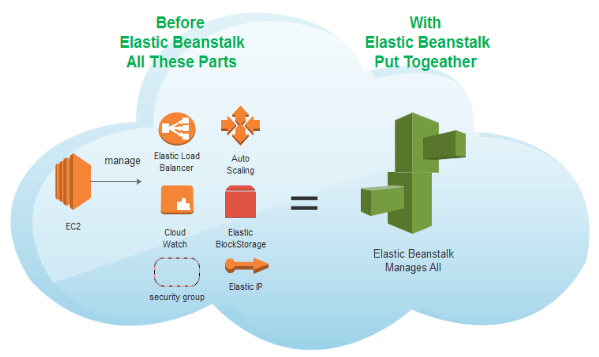
AWS Elastic Beanstalk is an easy-to-use AWS service for deploying and scaling web applications and services developed with Python, Ruby, Java, .NET, PHP, Node.js, Go, and Docker on familiar servers such as Apache, Passenger, Nginx, and IIS.
With Elastic Beanstalk, you just have to upload your code and Elastic Beanstalk automatically handles the deployment, from capacity provisioning, load balancing, auto-scaling to application health monitoring. At the same time, you keep full control over the AWS resources powering your application and can access the underlying resources at any time.
Also Check: Our Previous Blog On AWS Cloudtrail vs Cloudwatch
Blue-Green Deployments in Elastic Beanstalk
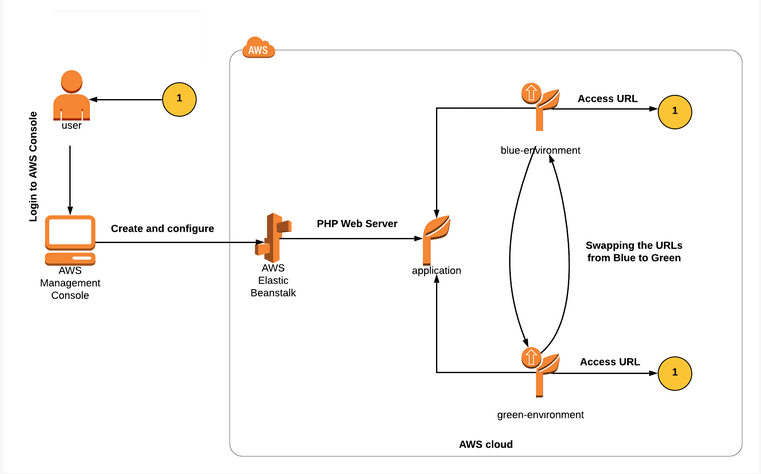
AWS Elastic Beanstalk helps you to quickly deploy applications and manage them. It supports Auto Scaling and Elastic Load Balancing, the two of which empower blue-green deployment. It also makes it easier to run different adaptations of your application and provides developers a choice to exchange the environment URLs, encouraging blue-green deployment. To gain in-depth knowledge check our blog on AWS Elastic Beanstalk.
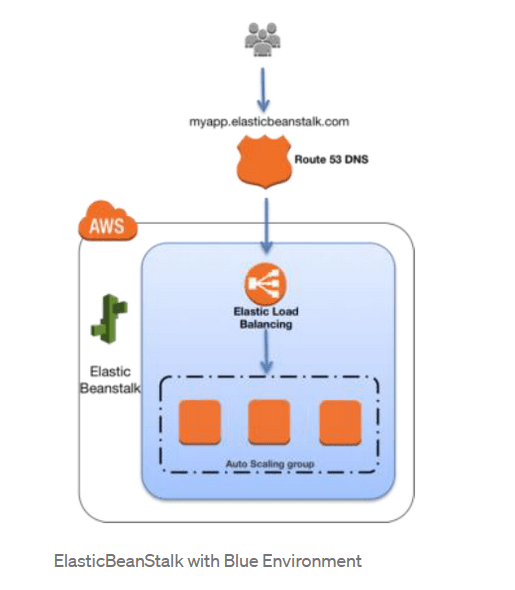
Elastic Beanstalk provides an environment URL when the application is up and running. Then, the green environment is spun up with its own environment URL. At this point, two environments are up and running, but only the blue environment is serving production traffic.
To promote the green environment to serve production traffic, you go to the environment’s dashboard within the Elastic Beanstalk console and choose the Swap Environment URL from the Actions menu. Elastic Beanstalk performs a DNS switch, which usually takes a couple of minutes.
Also Check: What Are AWS Organizations?
Base Scenario (Use Case)
AWS Elastic Beanstalk performs normal deployments in the current production environment. Due to this, the application will be unavailable to users until the update is complete. This downtime can be avoided by performing a blue/green deployment. In this scenario, we will do the following steps to overcome this issue
Read More: What is Amazon Kinesis?
Step by Step Elastic Beanstalk Deployment Using Blue-Green
- If you don’t have a FREE AWS account, then create one from here Step by Step AWS FREE Tier Account
- Create an Elastic Beanstalk Application
- Create a Blue environment for PHP application
- Create a Green environment for updated PHP application
- Swap the URL’s from Blue to Green Environment
Step 1: Create an Elastic Beanstalk Application
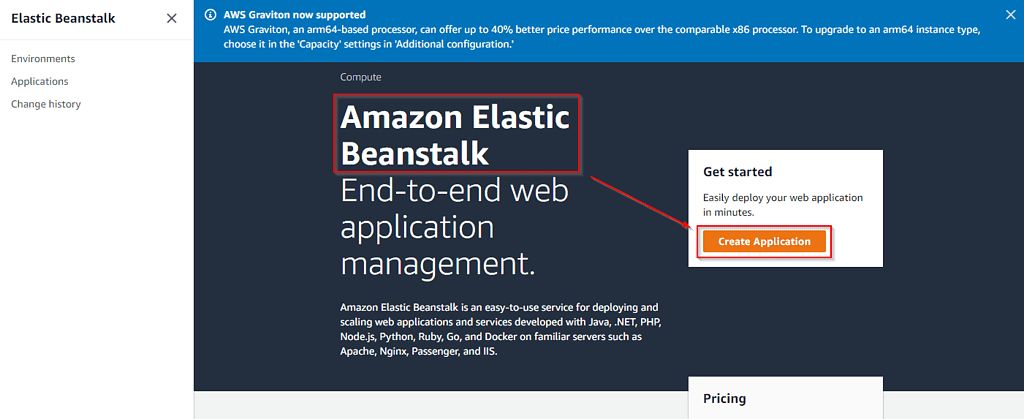
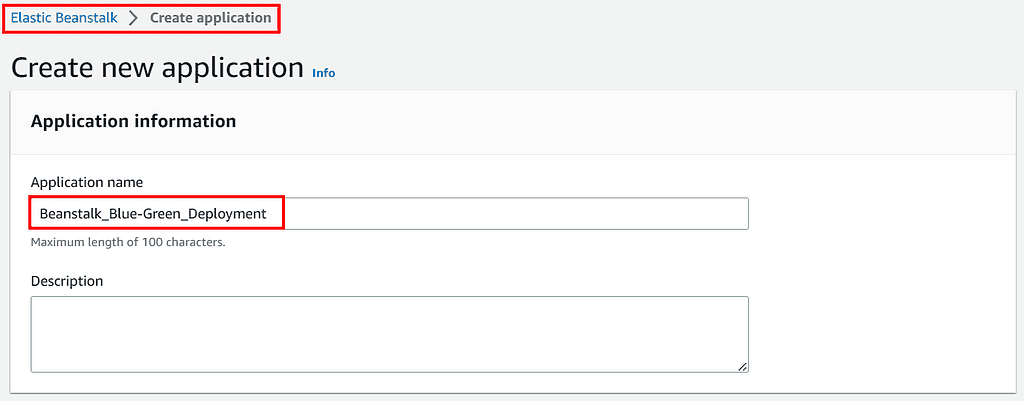
- Search for Elastic Beanstalk and open it. Under application click on Create Application.

- Enter the Application name as Beanstalk_Blue-Green_Deployments, scroll down and click on Create Application.

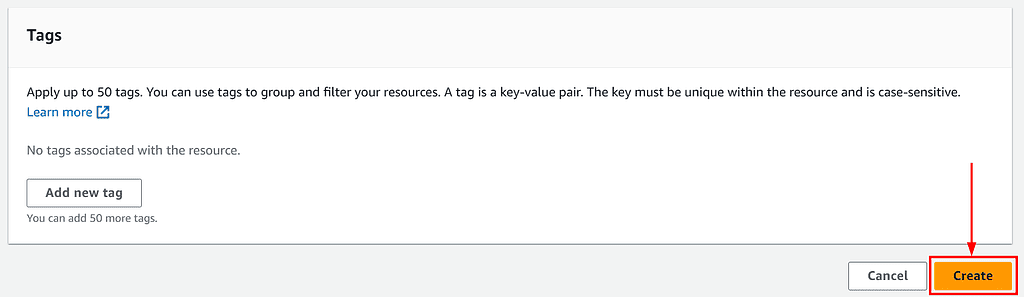
- Let everything default and Click on Create.

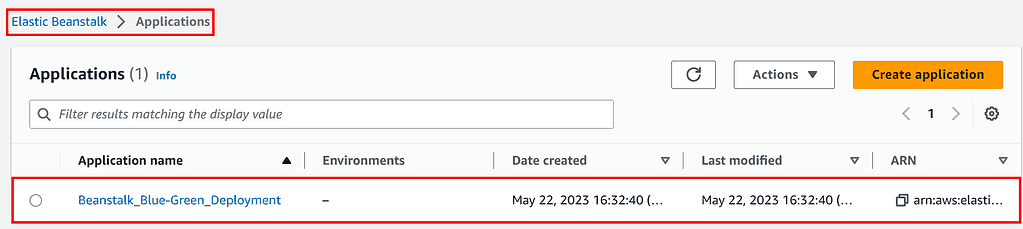
- Under Applications you shall see our Application is created.

Also Read: Overview Of AWS OpsWorks
Step 2: Create a Blue Environment for PHP Application
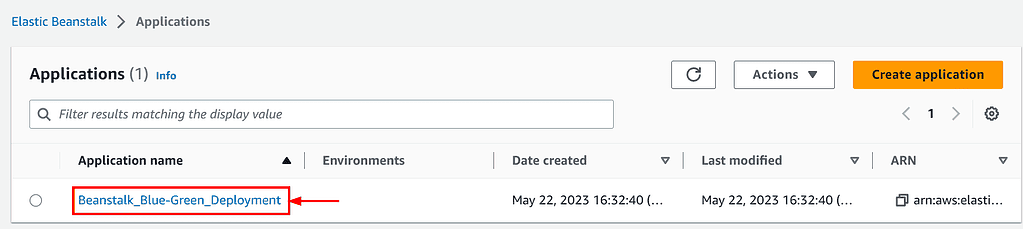
- Now, click on the Application name and open it.
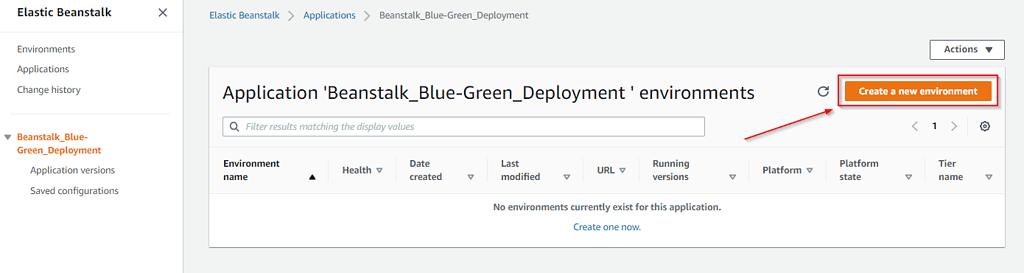
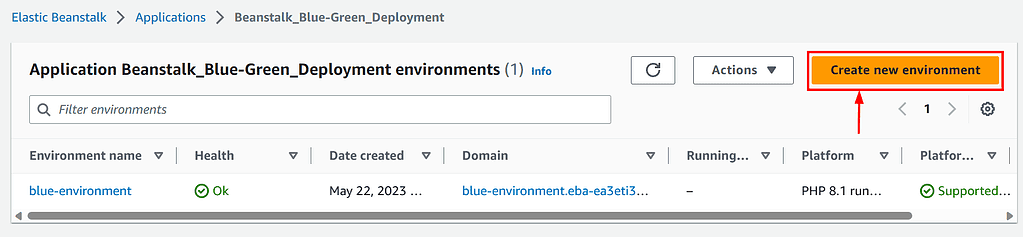
- Under Application ‘Beanstalk_Blue-Green_Deployments’ environments Click on Create a new environment.

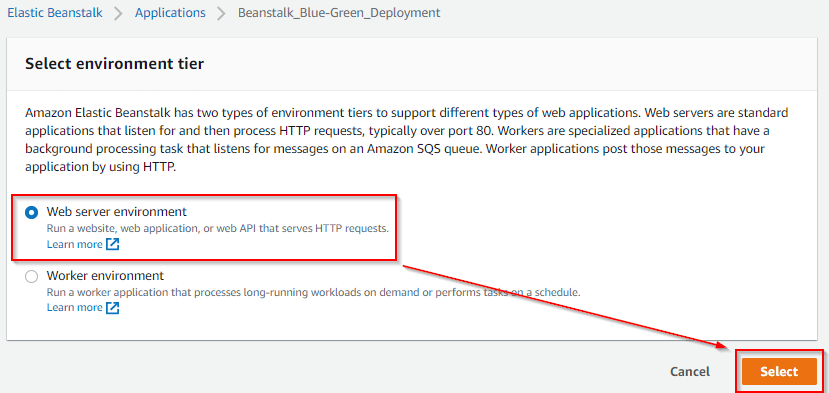
- Select the Web server environment and Click on Select.

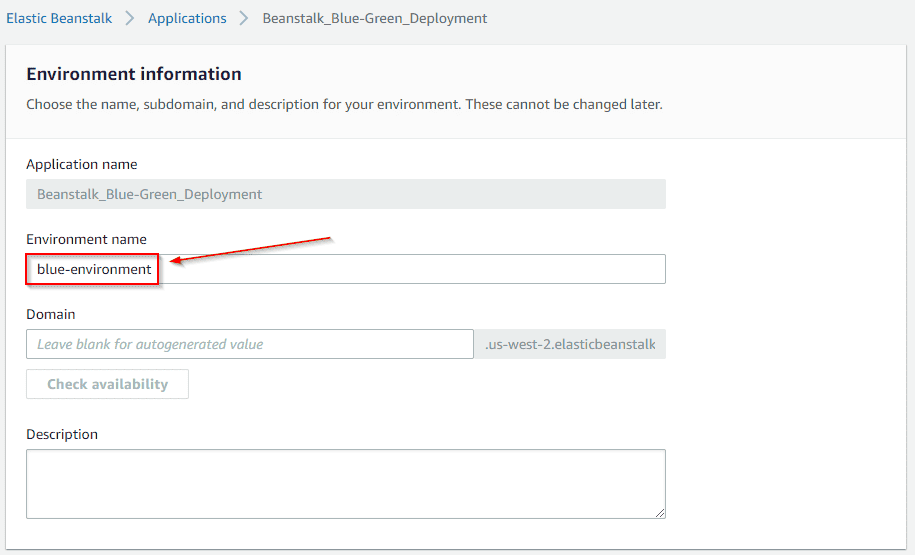
- Enter the Environment name as blue-environment.

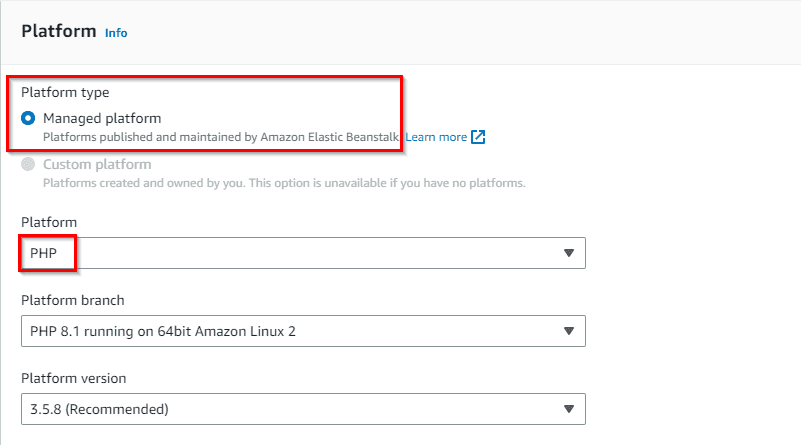
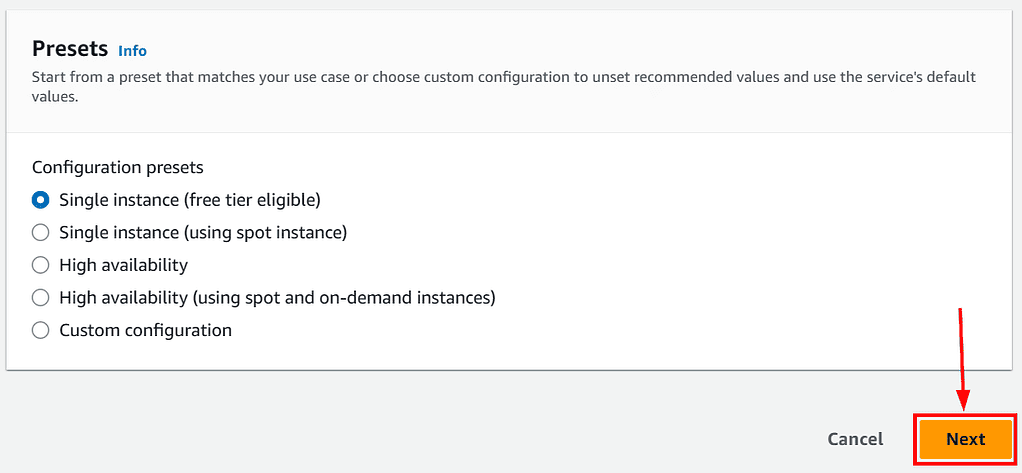
- Scroll down, select Managed Platform, and Choose PHP as the platform. Here we are choosing PHP as a platform only for this lab

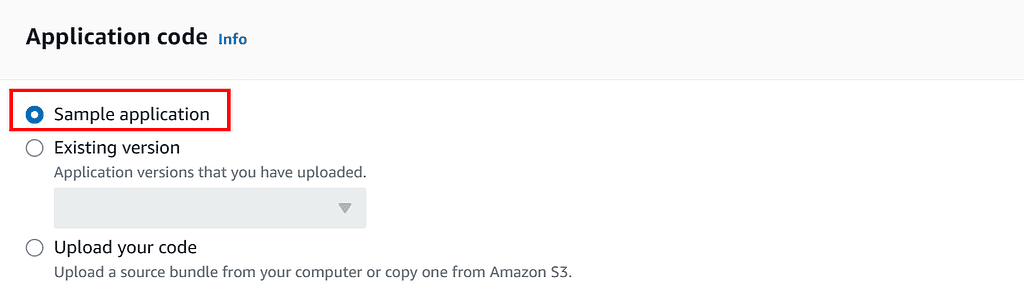
- Choose Sample application and Click on Next. Here you can also upload your code, but we are selecting the Sample application for now.

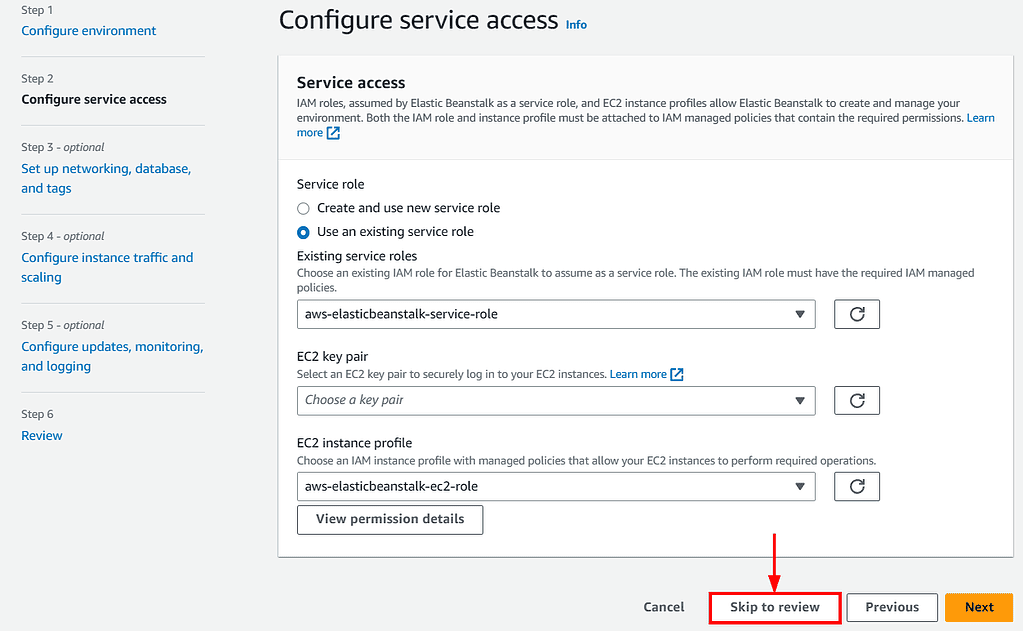
7. Select the role created in the previous activity guide Deploy An Application In Beanstalk Using Docker in the EC2 instance profile dropdown.
Let everything else be the default and click on Skip to review.
8. Review everything and click on
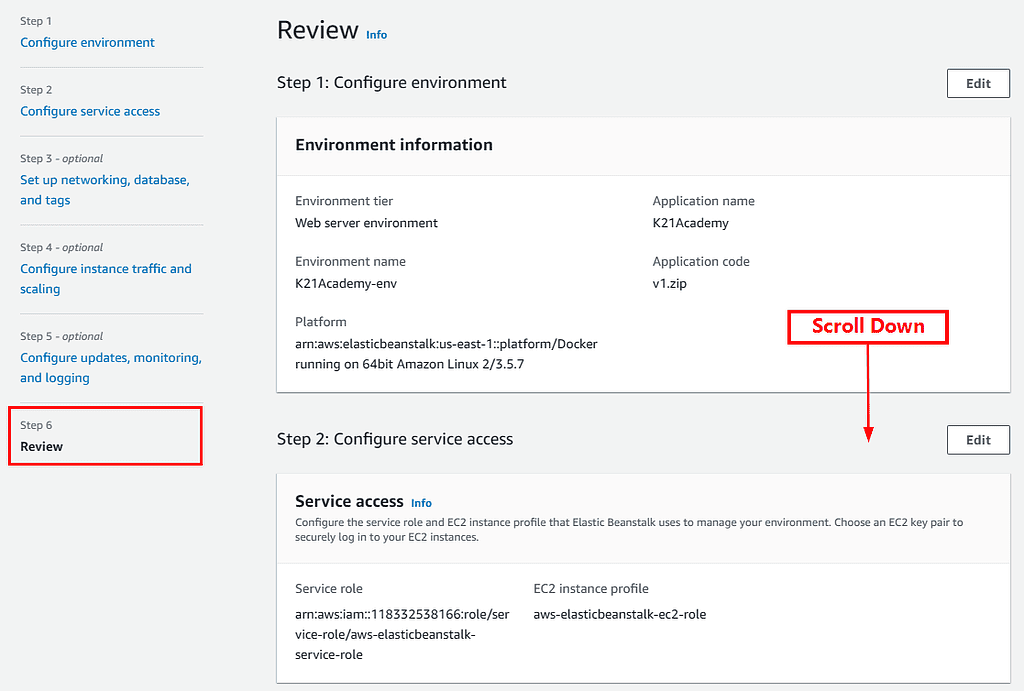

9. Please wait, as this will take 5 – 10 min to complete the setup of creating the blue environment.
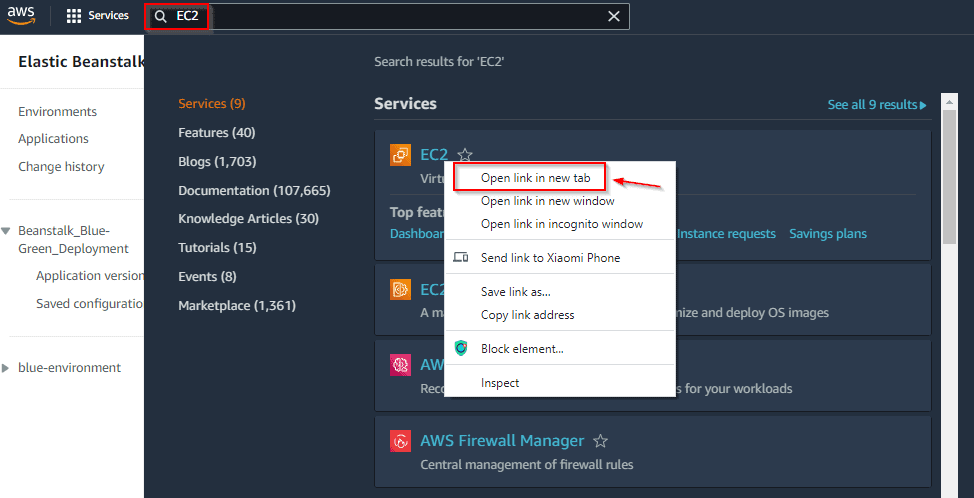
10. Under services Search for EC2 and open the link in a new tab.
11. Under EC2 dashboard you see a blue-environment instance is Up and Running.

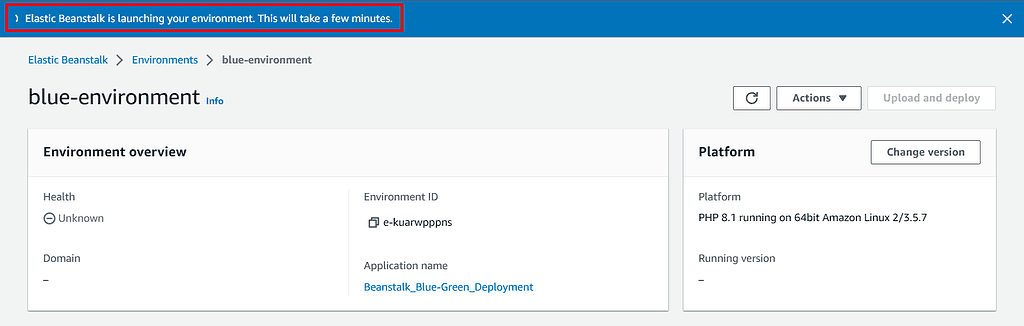
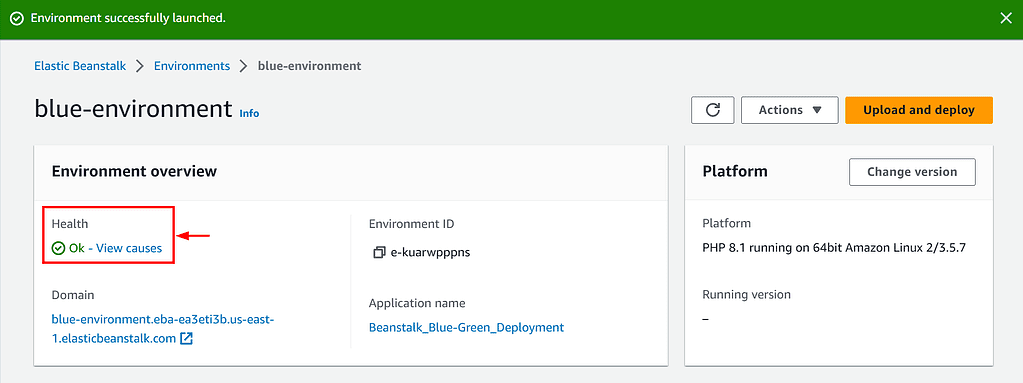
12. Back on the Elastic Beanstalk console, the blue environment has successfully launched you shall see this screen, now check the Recent events and then Click on the URL generated by Elastic Beanstalk.
13. Now you shall see your PHP Application is Up and Running.

Also Check: What is SDLC Automation in AWS
Thus, we have successfully deployed our PHP application in the blue environment using Elastic Beanstalk.
Step 3: Create a Green Environment for Updated PHP Application.
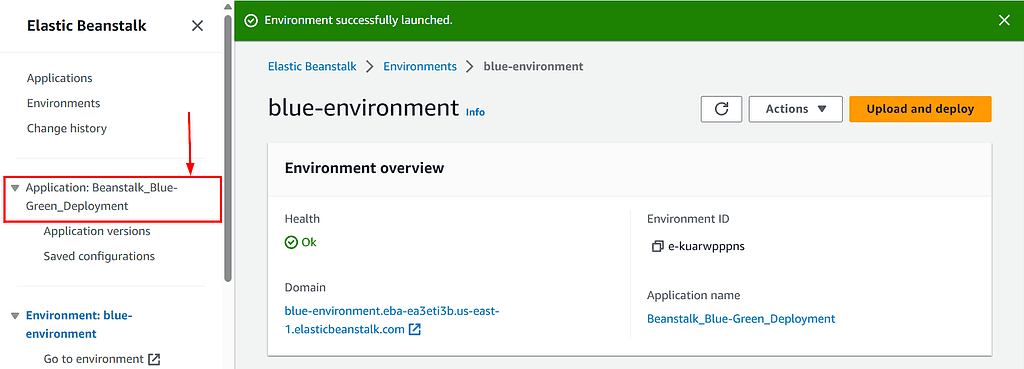
- Now click on our Application name for creating a new environment.

- Here, Click on Create a new Environment.

- Select Web Server Environment and Click on Select.

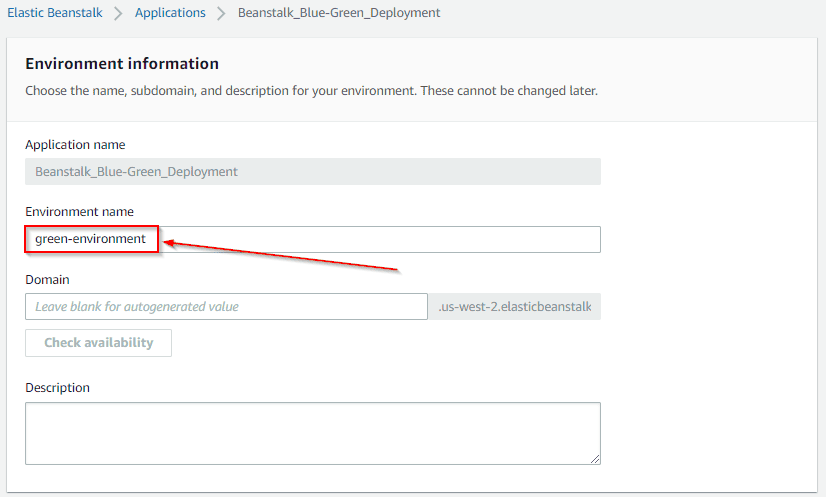
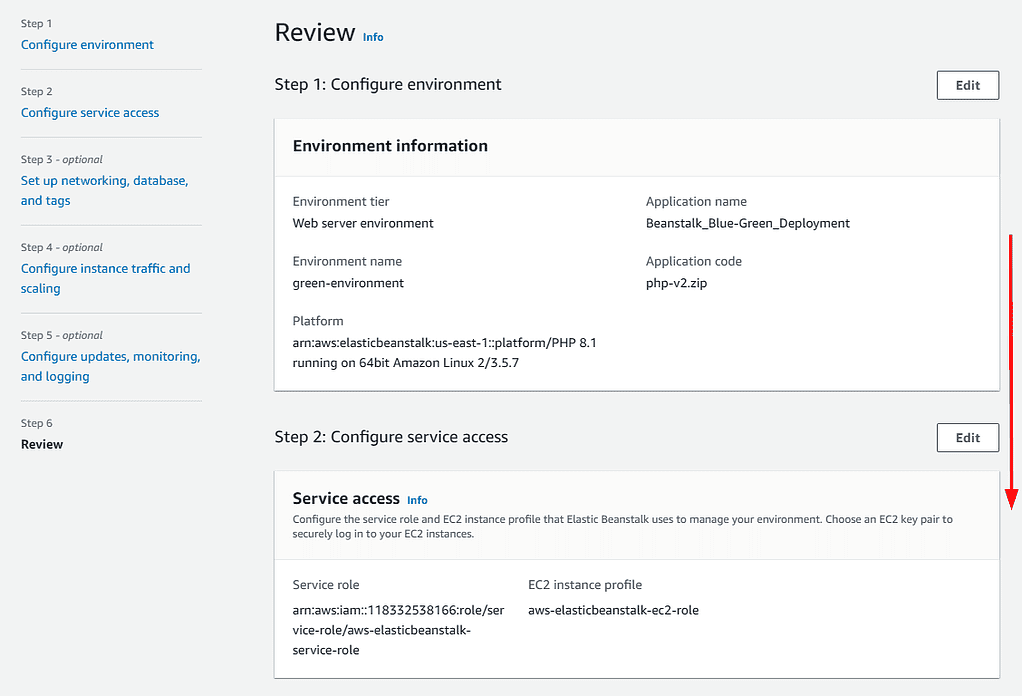
- Under Environment, the name enters the name as green-environment.

- Scroll down, select Managed Platform, under Choose a Platform select PHP.
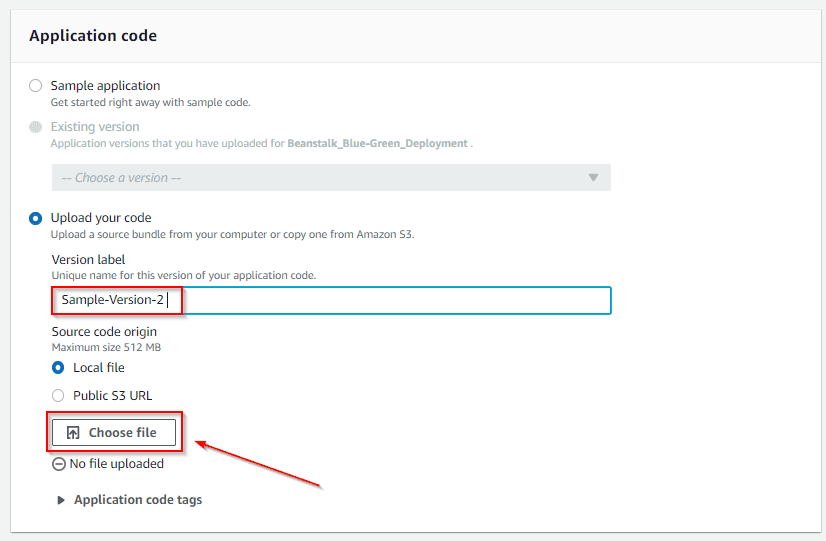
- Now select Upload your code enter the Version label as Sample-Version-2 or any name you want and click on Choose file.

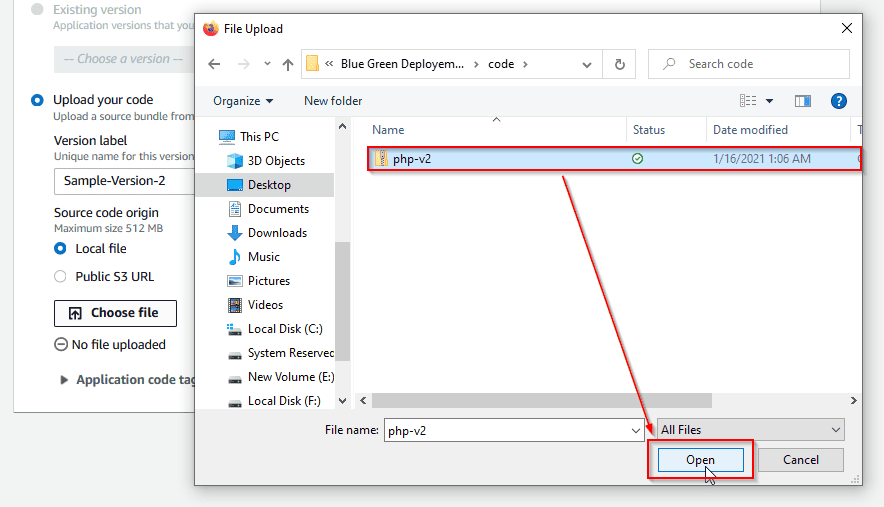
7. Select the zip file that we downloaded earlier and click on Open.
8. Once the zip file is uploaded successfully, click on Next.

9. Let everything be the default and click on Skip to review.
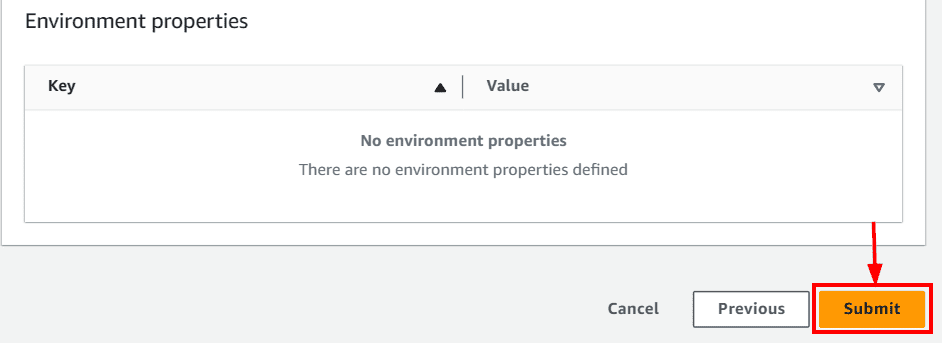
11. Now wait for 5 minutes until the environment is deployed successfully.
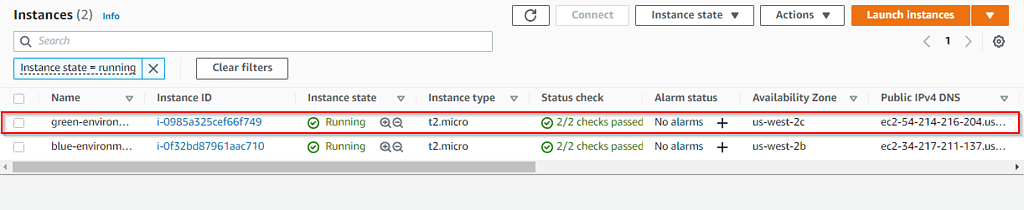
12. Back on the EC2 instances console you shall see the instance is deployed by the name green-environment.
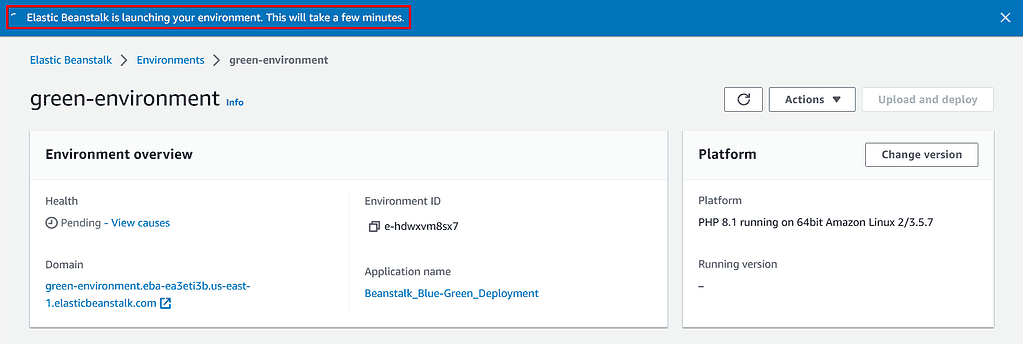
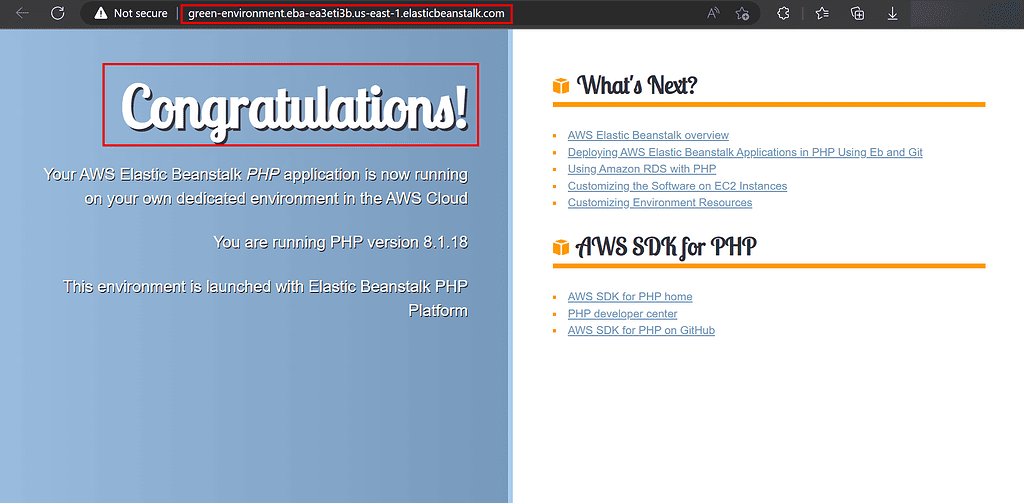
13. Once Completed your screen shall look like this, check the recent events and Click on the URL created by Beanstalk.
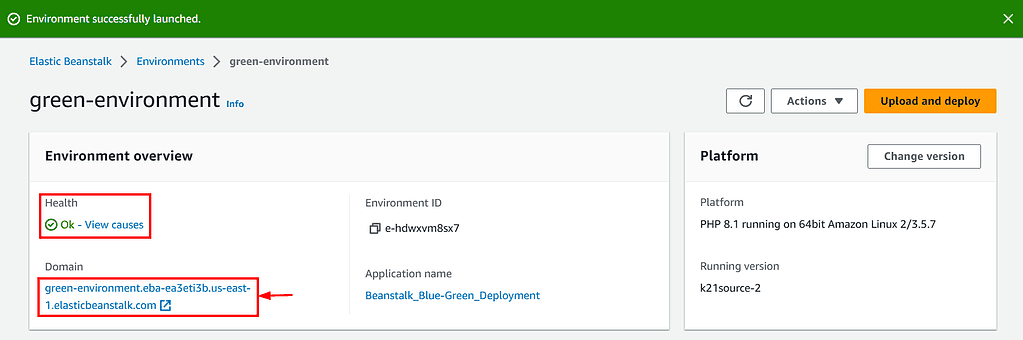
14. Now you shall see our Updated Version of the PHP Application is Up and Running.
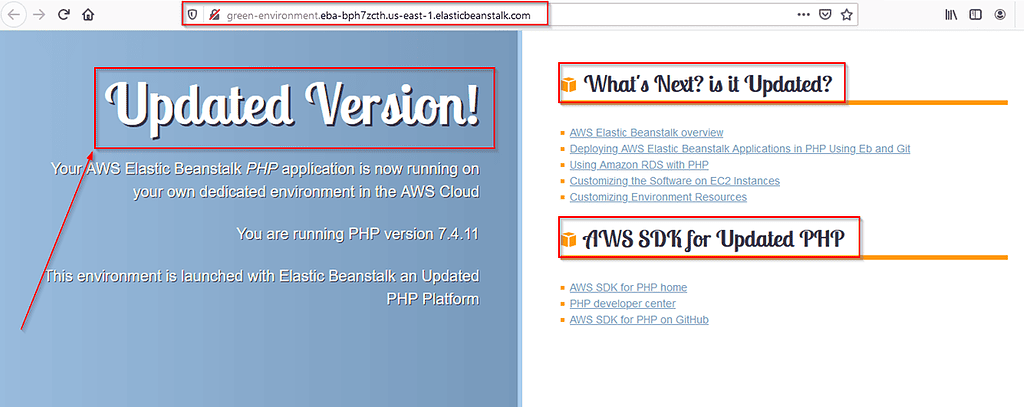
Thus, we have successfully deployed our updated PHP application in the green environment using Elastic Beanstalk.
Also Check: How to Use AWS Command Line Interface. Click here
Step 4: Swap the URLs From Blue to Green Environment
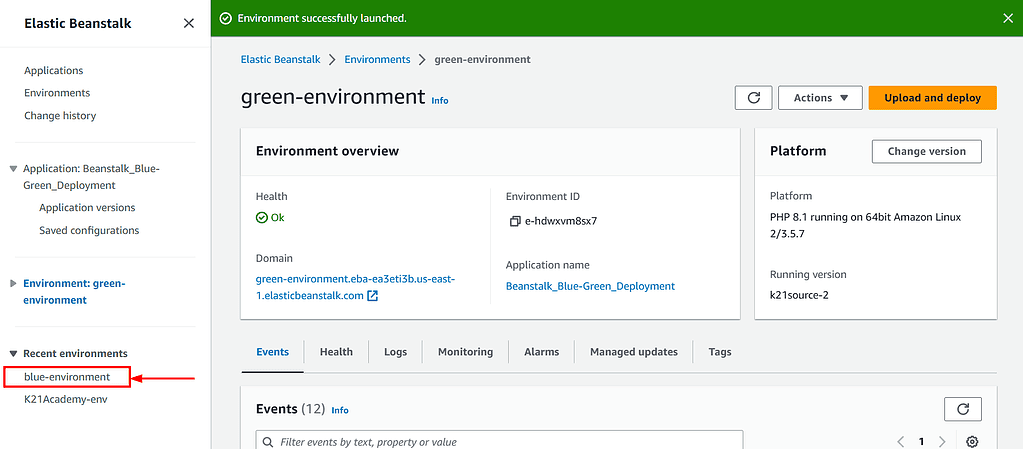
- First, click on the blue-environment on the left panel.

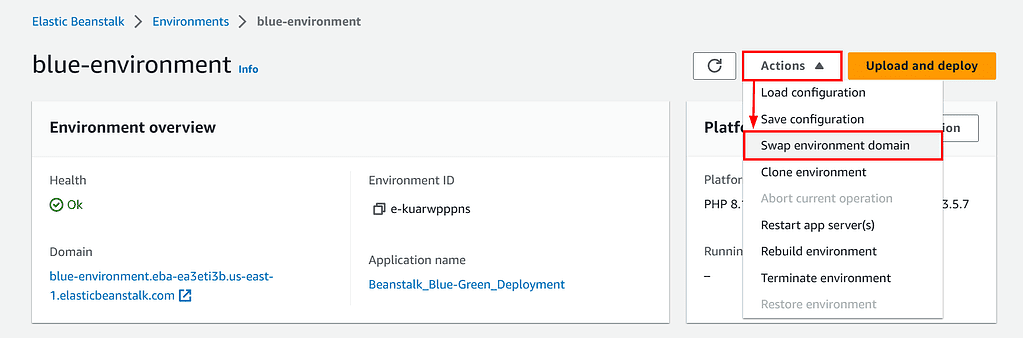
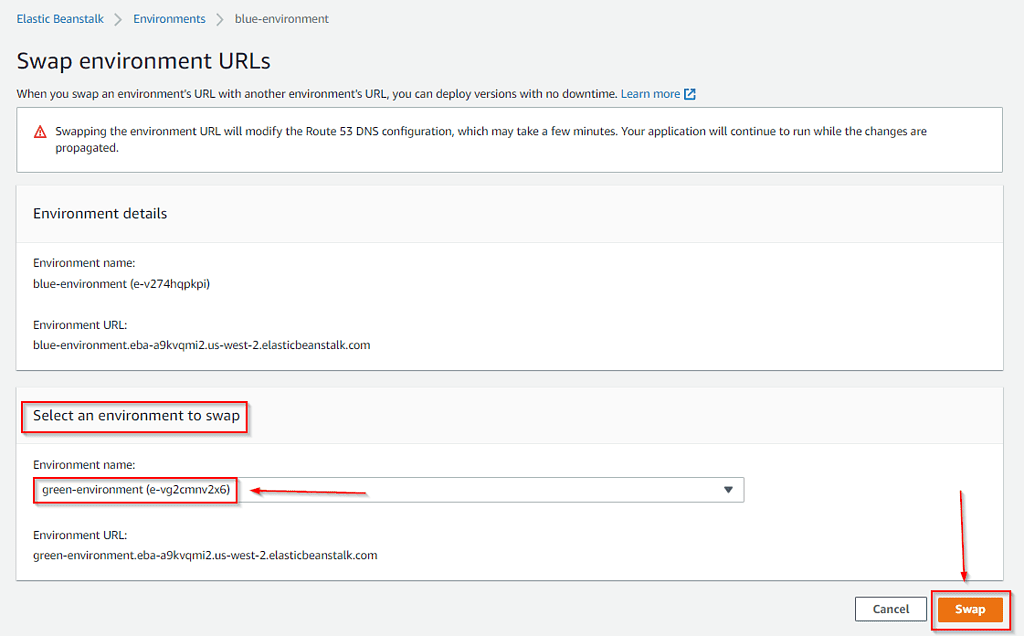
- Click on Actions and Swap environment domain

- Here under Select an environment to swap, select the Green Environment from the drop-down and click on Swap.

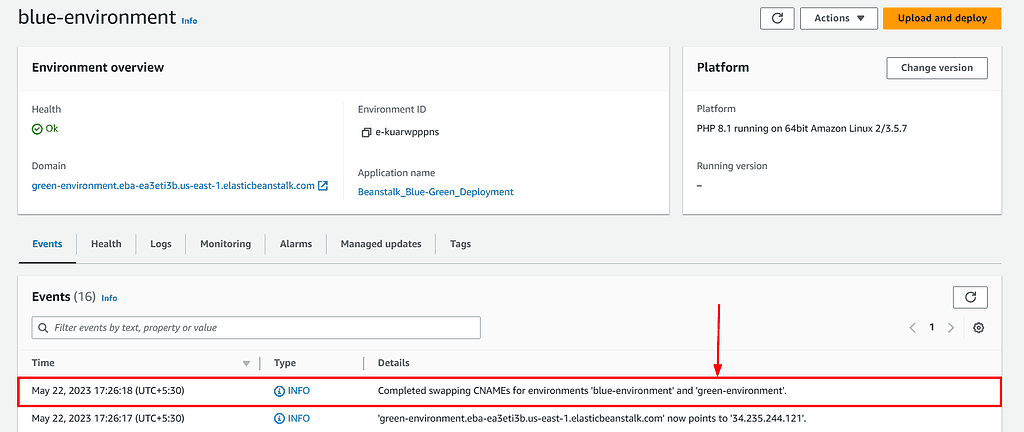
- Under Recent Events, you shall see the Swapping CNAMEs for environments completed successfully.

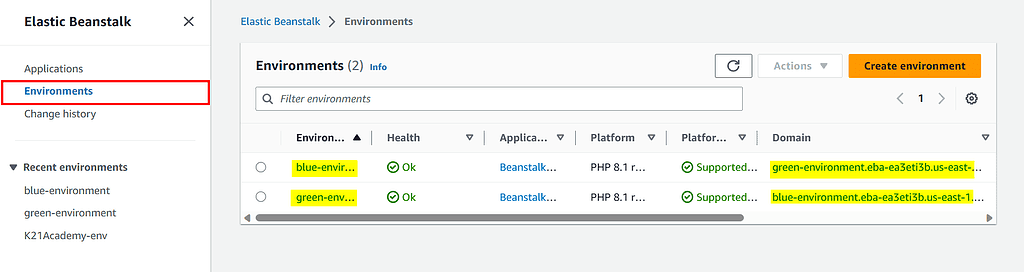
- Once the URLs are swapped click Go to the environments in the left Menu bar.

- Note: Now you shall see that the URLs are swapped so the URL under the blue environment is by name green-environment and the URL under the green environment is changed to blue-ones. Basically, the URLs are interchanged.
- Now, click on the URL in front of green-environment and you shall be redirected to an updated version page.
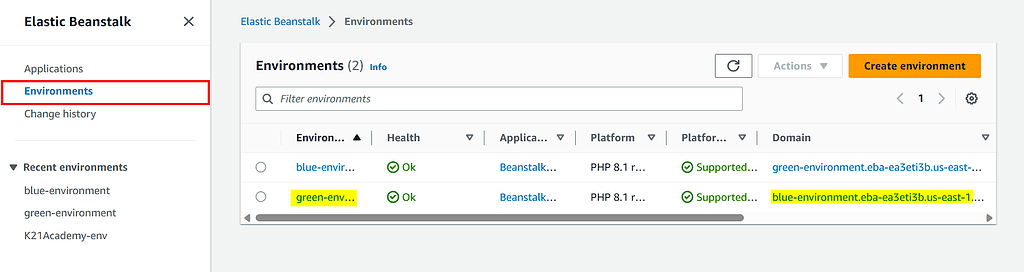

8. Now Clicking on the URL in front of the blue environment, you shall be redirected to a old page.
Note: Notice the change in URLs and Applications.
Note: Thus, we have successfully implemented the blue-green deployments using Elastic Beanstalk. By swapping the URL’ again you can roll back to the previous version of your application.
Related/References
- Set Up a CI/CD Pipeline on AWS
- AWS Certified DevOps Engineer Professional DOP-C01
- Overview of Amazon Web Services & Concept
- AWS Management Console Walkthrough
- Create a service role for CodeDeploy
- AWS Certificate Manager
- AWS Fargate (Serverless Containers)
- Amazon DynamoDB: Fast and Scalable NoSQL Database
Next Task For You
Begin your journey towards becoming an AWS Certified DevOps Engineer Professional by checking our FREE CLASS. Click on the below image to register for our FREE CLASS.


Leave a Reply