![]()
In this blog, we are going to discuss, How to download and Configure Oracle Integration Cloud Connectivity Agent to create a secure connection between OIC and On-premise systems.
It is particularly useful when you don’t want to poke holes into your firewall.
If you want to learn more about how to use REST API in OIC for manipulating data then you need to check our course Oracle Integration Cloud OIC where you will learn Provisioning OIC | Connectors/Adapters | REST & SOAP APIs | Customer Case Study | Security | Monitoring Integration.
What Is Connectivity Agent & Why You Need It?
- Connectivity agents are the agents that help you create integrations between on-premises applications and Oracle Integration Cloud (OIC) Service.
- Connectivity Agents are required for Oracle Integration Cloud to communicate or exchange messages with on-premise applications like Database, E-Business Suite, etc.
Check our another blog to get an overview of Connectivity Agents in Oracle Integration Cloud (OIC) Service
Prerequisite
Before we begin to download and use Connectivity Agent we have a prerequisite to install JDK on the target system, Check steps to Downloading And Installing JDK 8 for OIC Connectivity Agent
Downloading Connectivity Agent
There are two ways to download the connectivity agent from OIC
- Through the browser using the GUI interface of instance.
- Using CLI (as there are many systems only using CLI interface only)
Read this to know more about what is Web service, API and the difference between SOAP Vs REST API (Simple Object Access Protocol & REST Representational State Transfer) and how are they related.
1. Using Browser GUI Interface.
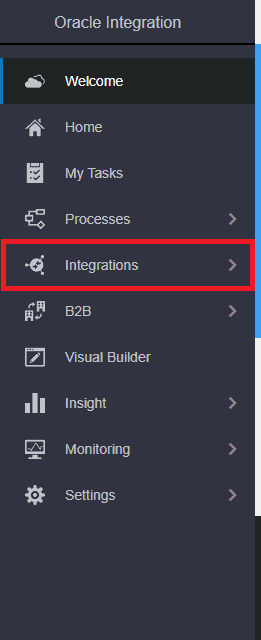
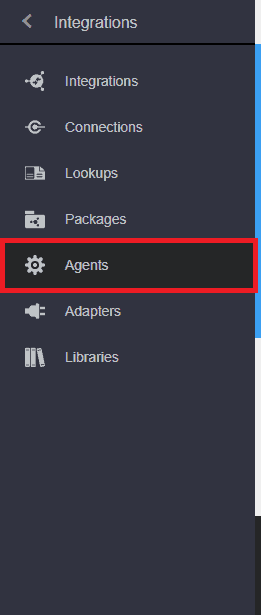
1. Open Integration from the hamburger menu then selects Agents.
Note: If you are new to OIC and want to get familiarise with the navigation and basic then check our blog Oracle Integration Cloud (OIC) For Beginners Overview
Check Out: Our previous blog post on ERP Cloud Adapter.
2. Now create a new agent group, One agent group can contain 2 Connectivity agent.
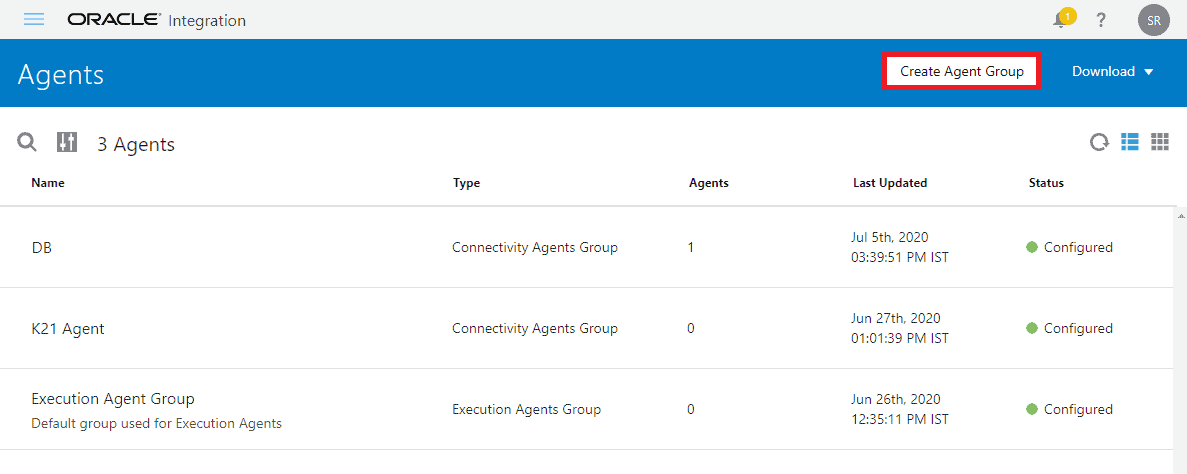
Note: Once an Agent group is connected with a connectivity agent you can not deregister it so you will have to delete the agent group completely.
Also Read : What are the Advantages Of HDL For HCM Data Integration.
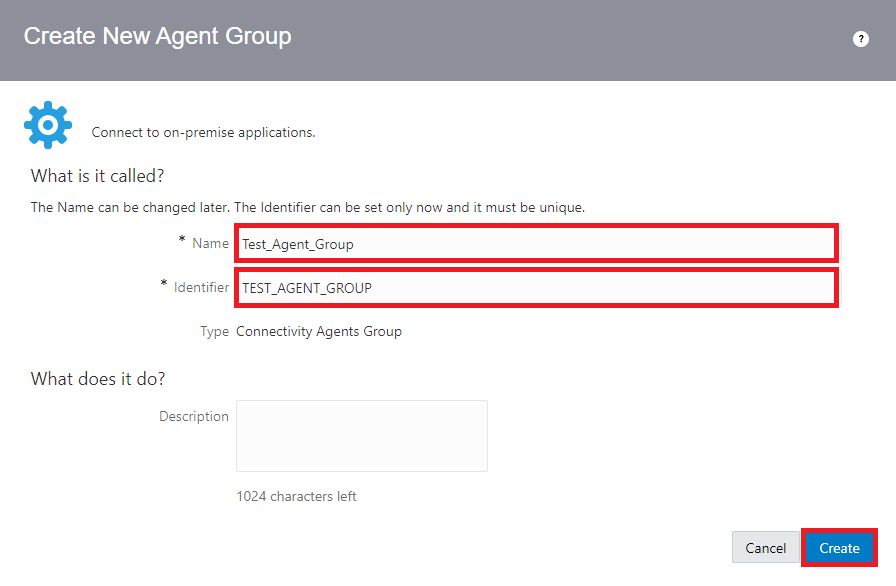
3. Provide Necessary details like Name and the identifier will be taken automatically depending on the name provided then click on Create.
Read More : About How To Change Visual Builder Tenant DB To Oracle ATP
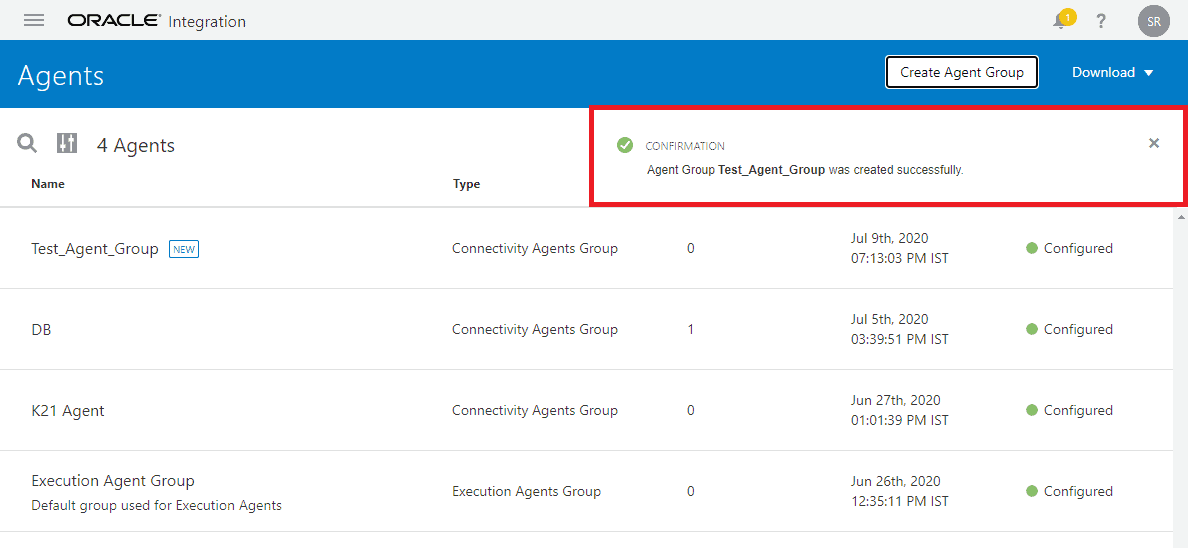
4. You will get a confirmation message when the agent group is created.
Also Check : the difference between ADF vs VBCS
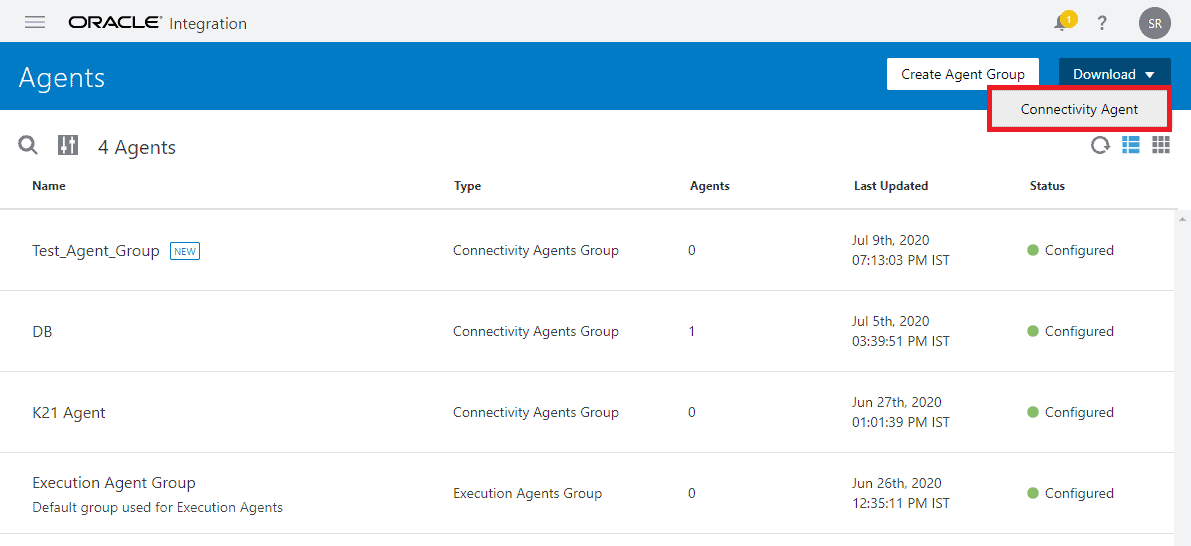
5. On the top right corner click on download and then click connectivity Agent.
6. Now the connectivity agent zip will be downloaded.
Read this blog if you are a beginner who has started to learn Oracle Integration Cloud (OIC) and want to get familiar with Process Cloud Service (PCS).
2. Downloading Connectivity Agent Using CLI
You will use CLI when you only have access to the terminal, for downloading agent OIC provides a curl option to directly download agent on the system.
Another way to achieve this is by downloading the Connectivity agent of a system where GUI is available then securely transferring the zip file through SSH on the target system.
1. In the command line interface enter the following command with your OIC URL and Credential to start the download of connectivity agent.
curl -k -v -X GET -u OIC_user:OIC_password -H ‘Content-Type:application/json’ ‘https://OIC_URL:443/icsapis/v1/agent/binaries/connectivity’ -o download_location/oic_connectivity_agent.zip
2. You will replace OIC_user:OIC_password with your OIC credentials
3. Replace https://OIC_URL with OIC base URL so that the curl knows where to connect to get the agent file.
4. You can also make other changes like the name of file and location where it should be downloaded.
5. Your final command should look similar to this
curl -k -v -X GET -u testuser@gmail.com:Welcortme1@123 -H ‘Content-Type:application/json’ ‘https://k21academyoicpoc 21academypoc.integration.ocp.oraclecloud.com:443/icsapis/v1/agent/binaries/connectivity’ -o /home/opc/oic_connectivity_agent.zip
Check Out: Oracle OIC vs SOA, Know their major differences!
Configuring Connectivity Agent
As connectivity agent is made using java it needs JDK installed on the target system, particularly JDK 8 or 9. If you need help in how to install JDK then, Check steps to Downloading And Installing JDK for OIC Connectivity Agent
1. Before proceeding to the configuration you need to unzip the connectivity agent.
2. Open the unzipped folder and then open InstallerProfile.cfg in a text editor, we need to add few details in the file so that the agent knows to connect and what credentials to use.
3. Your InstallerProfile.cfg file should look similar as shown below
# Required Parameters
# oic_URL format should be https://hostname:sslPort
oic_URL=https://oic_host:ssl_port
agent_GROUP_IDENTIFIER=<AgentGroupID>

#Optional Parameters
oic_USER=
oic_PASSWORD=

#Proxy Parameters
proxy_HOST=
proxy_PORT=
proxy_USER=
proxy_PASSWORD=
proxy_NON_PROXY_HOSTS=
4. Add your OIC base URL with port 443 in oic_URL=https://oic_host:ssl_port
oic_URL=https://k21demoics-pocintegration.integration.ocp.oraclecloud.com:443
Read More: About Oracle cpq and ebs integration.
5. Provide agent_GROUP_IDENTIFIER=<AgentGroupID> this unique to every agent group in OIC and case sensitive so make sure you enter it shown when you were creating Agent group.
agent_GROUP_IDENTIFIER=TEST_AGENT_GROUP
6. In the Optional Parameters section, you can add your OIC credential or leave it blanks if you want to provide credentials every time you start the agent.
#Optional Parameters
oic_USER=poc_cloud@k21academy.com
oic_PASSWORD=***************
7. Now save and close InstallerProfile.cfg file
8. As the Connectivity agent is made using Java so the command remains the same regardless of what platform it is run upon.
9. Open terminal or CMD in the extracted folder and enter below command to start the Connectivity Agent
java -jar connectivityagent.jar
10. If you haven’t provided OIC credential in step 6 then it will ask you to provide credentials.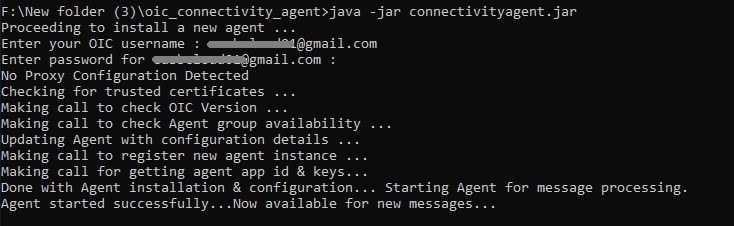
Also Check: How to Migrate ICS to OIC.
Verifying Connectivity Agent
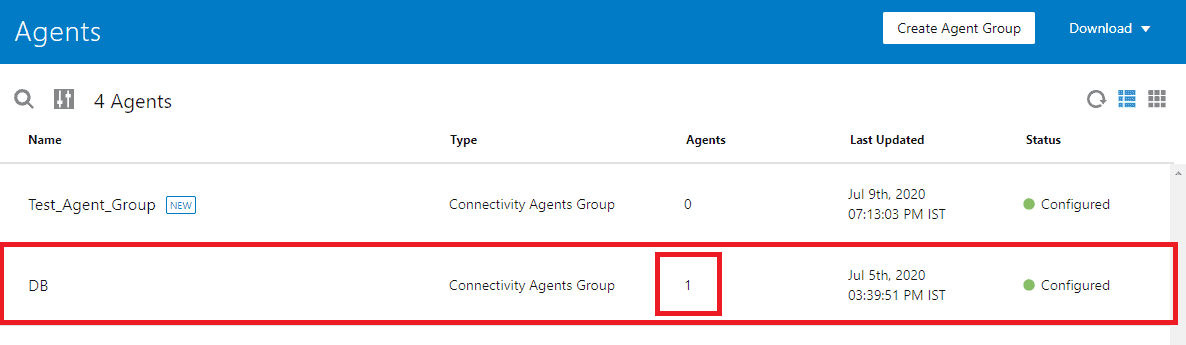
You can verify the connectivity agent by opening the Integration Cloud Agents page and you will notice that the count should increase from 0 to 1.
Also Read: Our blog post on Oracle Integration Cloud.
Summary
I hope you find this blog post useful.
This is how you download and configure the connectivity agent.
It is particularly useful when your target system is not publically exposed and you don’t want to compromise system security by poking holes in the firewall.
We Cover Oracle Integration Cloud OIC in our course where you will learn to Provisioning OIC | Connectors/Agents | SaaS Adapter | Troubleshooting | Customer Case Study | Security | Administration.
Related Links/References:
- Oracle Integration Cloud (OIC) For Beginners Overview
- Oracle Integration Cloud (OIC) Notification Activity
- Our best blogs for Oracle Integration Cloud – OIC
- Managing & Monitoring Integration Errors in Oracle Integration Cloud (OIC)
- 6 Docs Every Oracle Cloud Integrator Must Read
- How to exporting Business Data and Visual Builder Cloud Service (VBCS)
Next Task For You
Do you want to learn more about Oracle and confuse where to start or which certification is right for you? Then, click on the register now button below to register for a Free Masterclass on Oracle [1Z0-1042] Certified Cloud Integration Expert, which will help you better understand and choose the right path and clear the certification exam.


Hi,
Great article, thanks.
Do you know, is there any way of stopping automatic updates of the connectivity agent?
Hi Adrian,
We are glad that you liked this article.
Regarding your query, it is not possible to stop automatic updates.
Stay tuned for more posts like this.
Thanks and Regards
Rahul Dangayach
Team K21Academy