![]()
This blog covers different steps to preprocess and handle data in PySpark. Preprocessing techniques can certainly vary from case to case, and many different methods can be used to massage the data into the desired form.
What is PySpark?
The Scala programming language is used to create Apache Spark. PySpark is a tool developed by the Apache Spark Community to facilitate Python with Spark. You may also use PySpark to work with RDDs in the Python programming language. They were able to accomplish this thanks to a library called Py4j.
PySpark provides PySpark Shell, a tool that connects the Python API to the Spark core and sets up the Spark context. Python is used by the majority of data scientists and analysts nowadays due to its extensive library set. Python integration with Spark is a godsend for them.
What is Azure Databricks?
- Databricks + Apache Spark + enterprise cloud = Azure Databricks
- It’s a fully managed version of the open-source Apache Spark analytics, with optimized storage platform connectors for the fastest data access.
- It provides a notebook-oriented Apache Spark as-a-service workspace environment that enables interactive data exploration and cluster management simple.
- It’s a cloud-based machine learning and big data platform that’s safe and secure.
- Scala, Python, R, Java, and SQL are among the languages supported.
Preprocess and Handle Data in PySpark
All the following steps are written in Azure Databricks. If you have not created an Azure DataBricks Instance and Cluster, then you can create one from here.
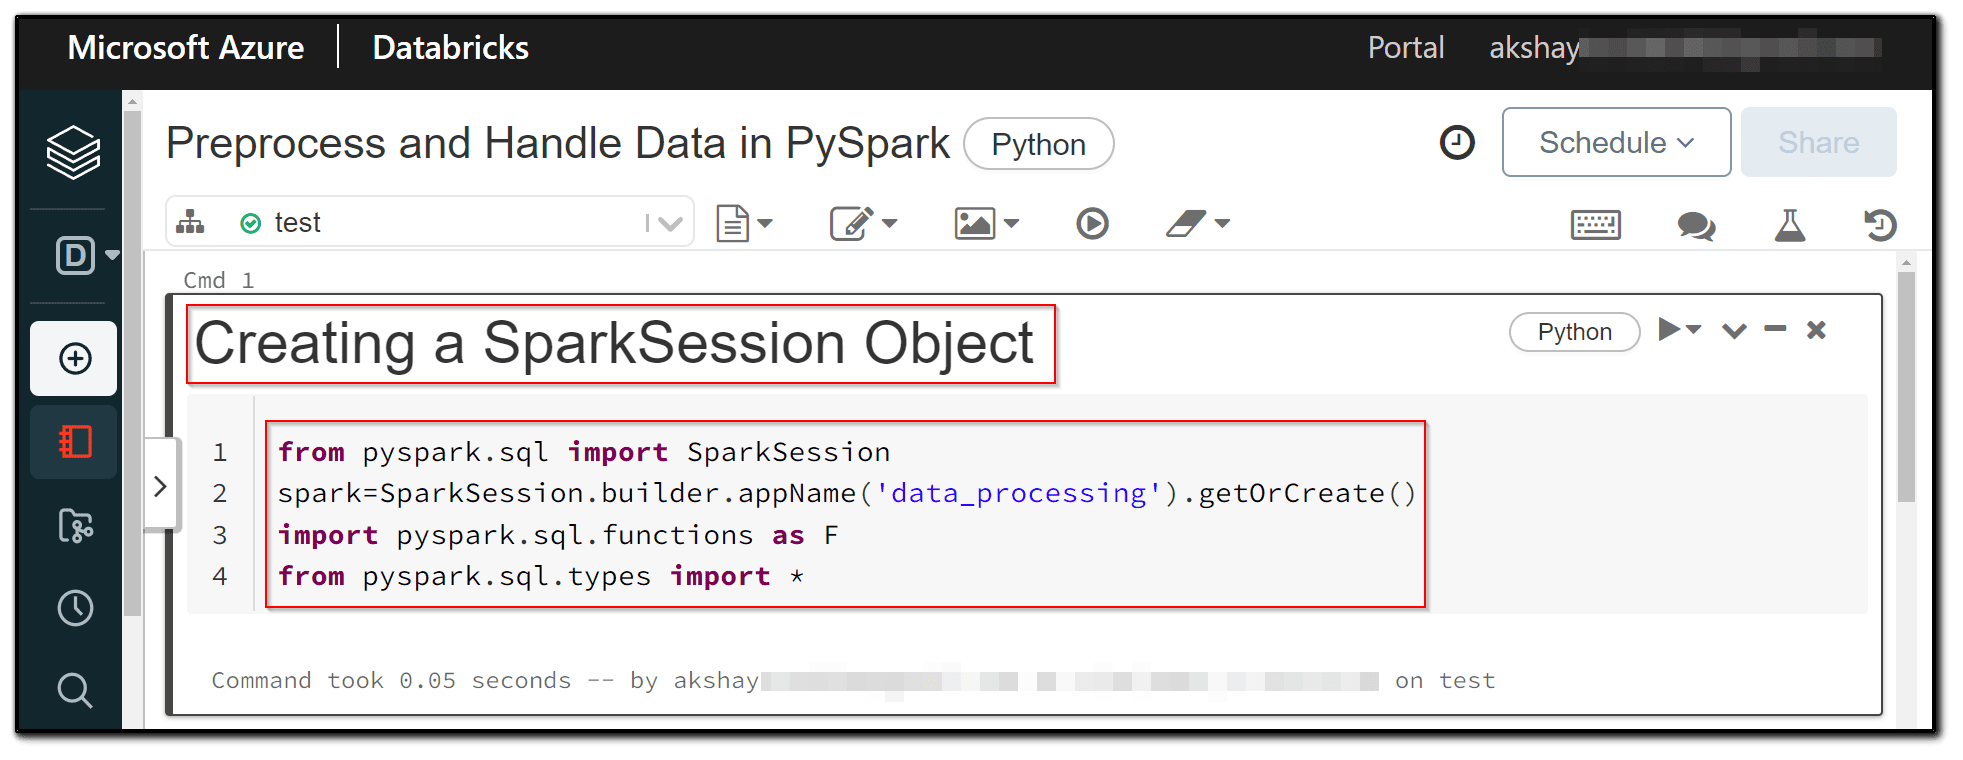
1) To use Spark, the first step is to build a SparkSession object. We also use spark.sql to import all of the necessary functions and datatypes.
from pyspark.sql import SparkSession
spark=SparkSession.builder.appName('data_processing').getOrCreate()
import pyspark.sql.functions as F
from pyspark.sql.types import *
2) We’re now working on a new dataframe with five columns of various data types (string and integer).
schema=StructType().add("user_id","string").add("country","string").add("browser", "string").add("OS",'string').add("age", "integer")
df=spark.createDataFrame([("A203",'India',"Chrome","WIN",33),("A201",'China',"Safari","MacOS",35),("A205",'UK',"Mozilla","Linux",25)],schema=schema)
df.printSchema()
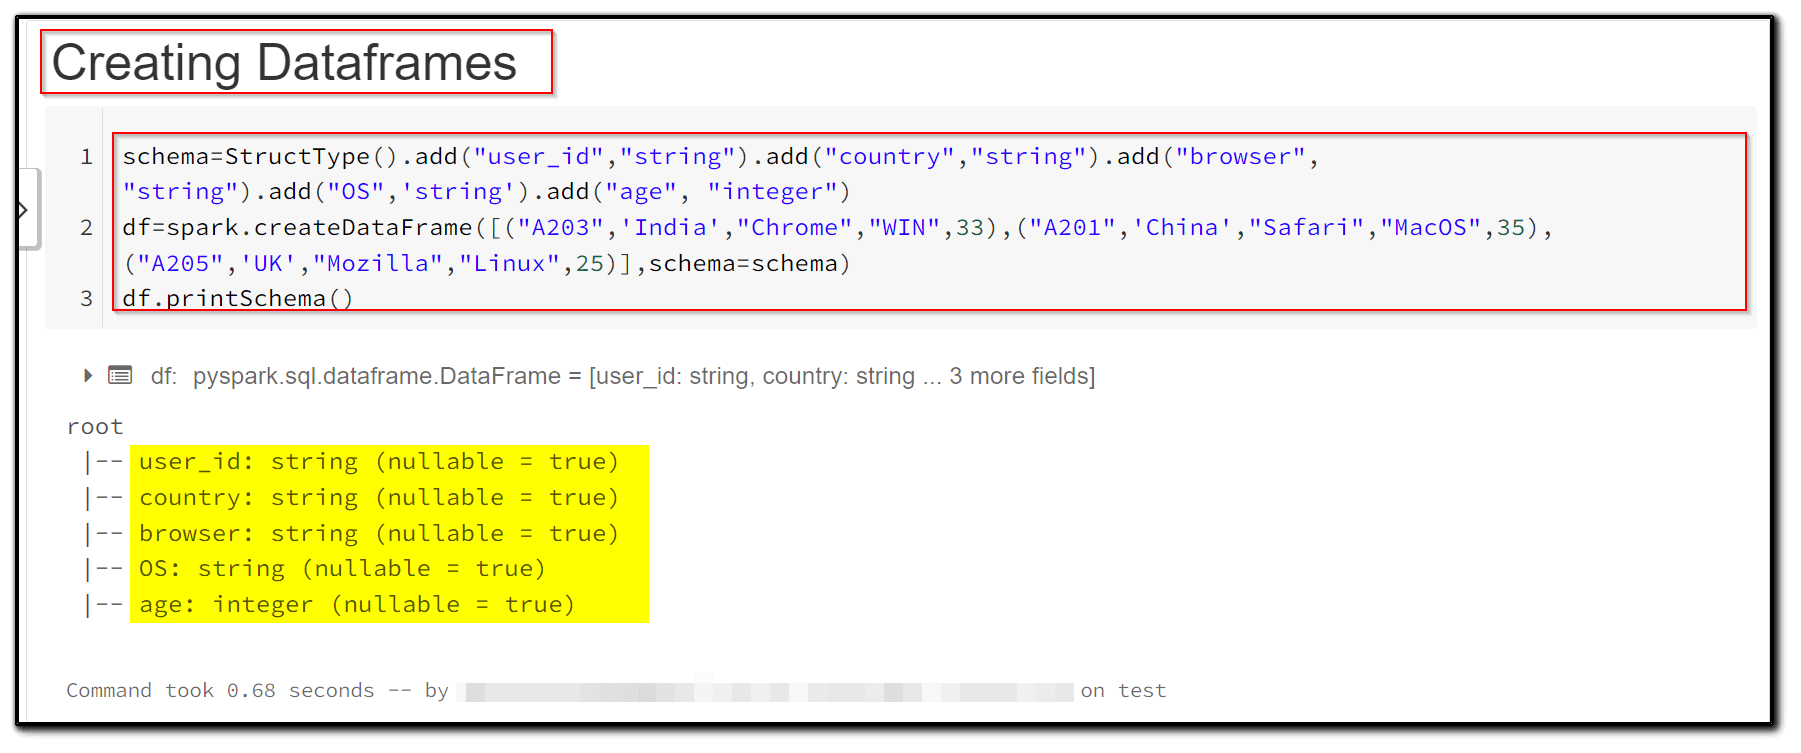
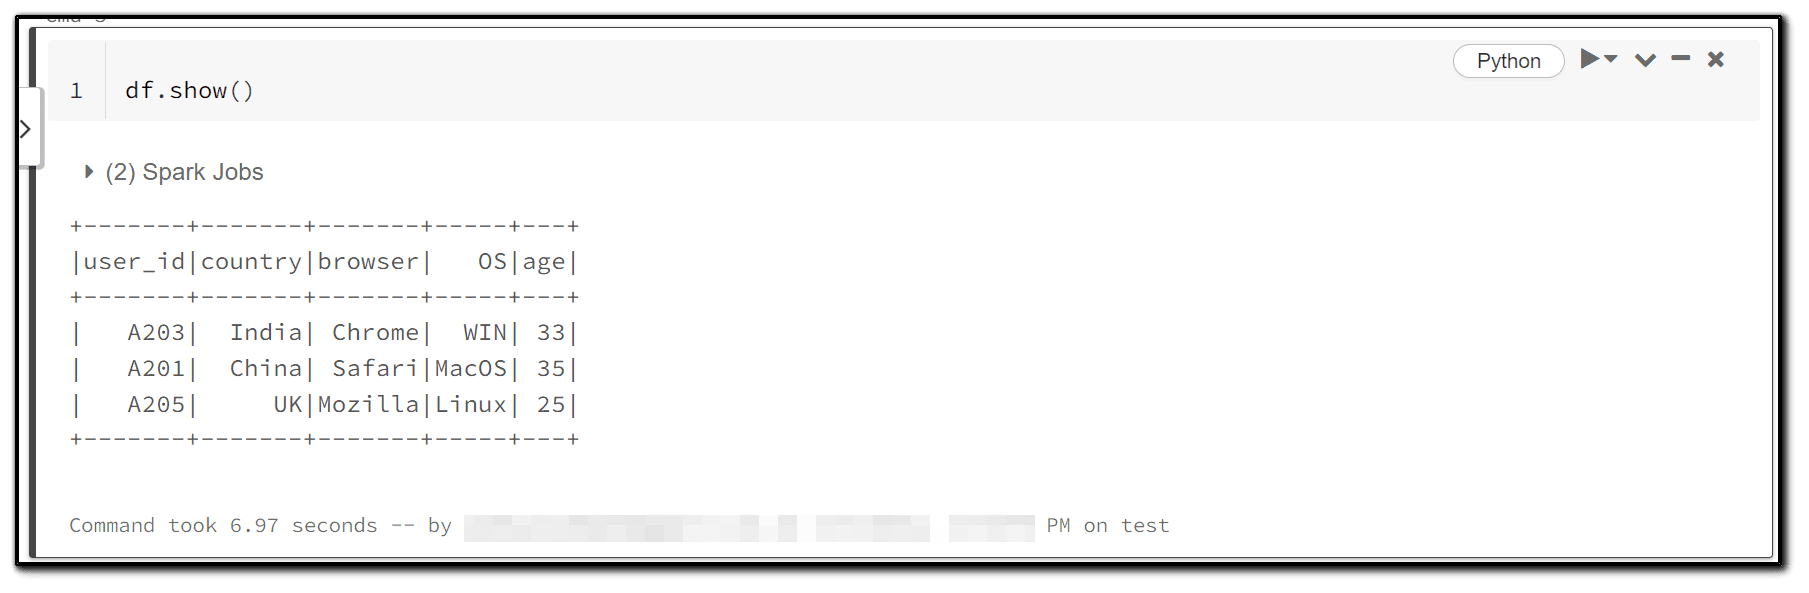
3) As you can see, the new dataframe is constructed with three rows and five columns with the values supplied by us when we call show on it.
df.show()
4) The presence of null values in a dataset is quite prevalent. As a result, adding a step to the data processing pipeline to handle null values becomes crucial. Null values can be dealt with in Spark by either replacing them with a specific value or dropping the rows/columns that include them.
First, we create a new dataframe ( df_na ) that contains null values in two of its columns (the schema is the same as in the earlier dataframe).
df_na=spark.createDataFrame([("A203",None,"Chrome","WIN",33),("A201",'China',None,"MacOS",35),("A205",'UK',"Mozilla","Linux",25)],schema=schema)
df_na.show()

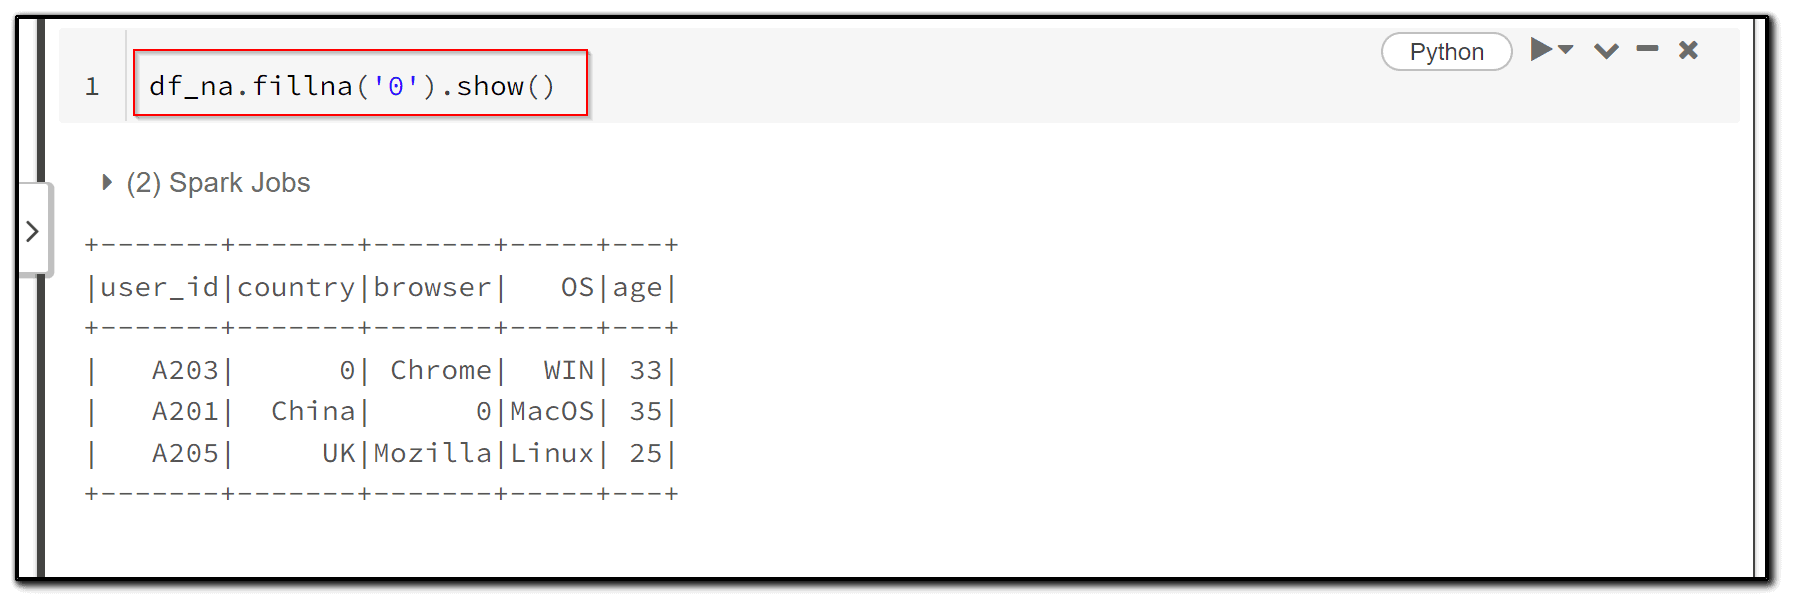
5) We now set all null values in the current dataframe to 0, which provides a simple workaround. All null values in the dataframe are replaced with 0 using the fillna function.
df_na.fillna('0').show()
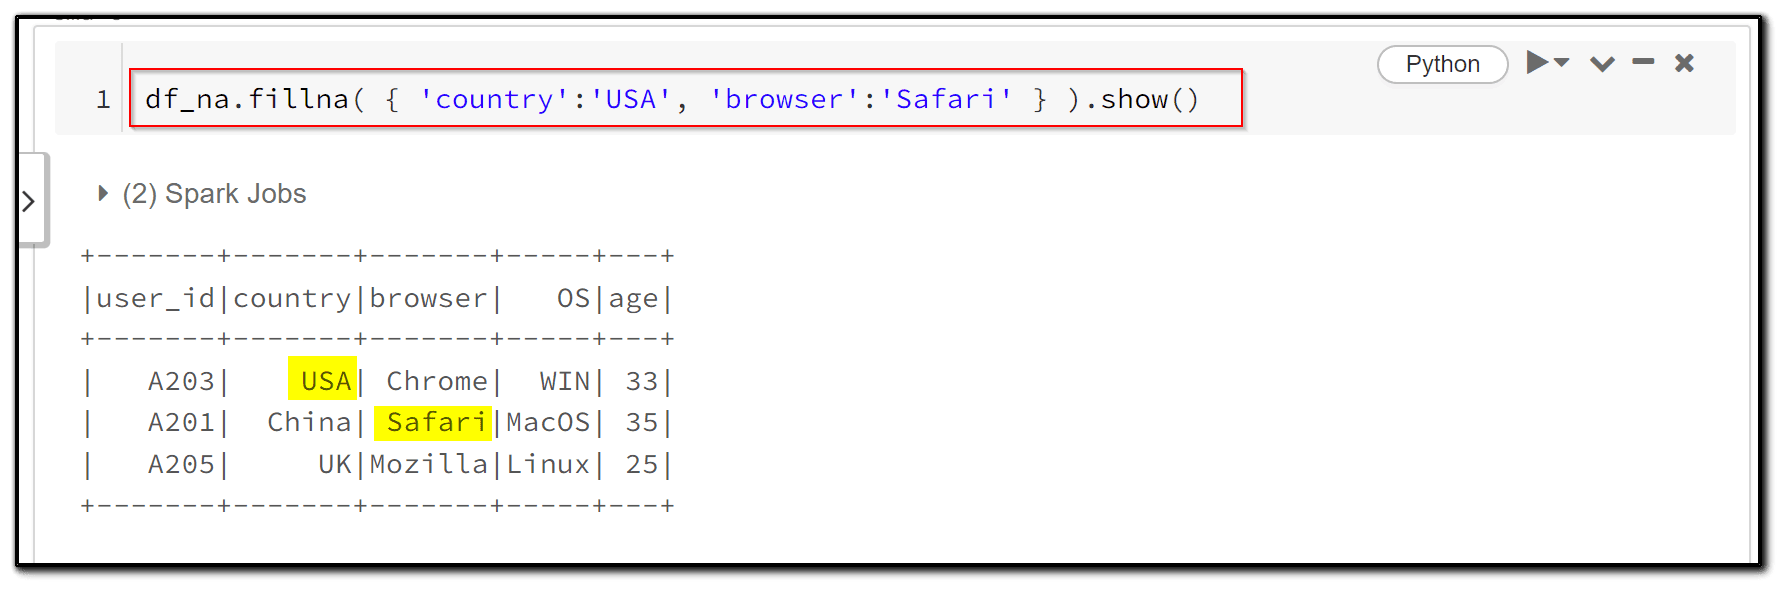
6) we replace the null values in specific columns (country, browser) with ‘USA’ and ‘Safari’, respectively.
df_na.fillna( { 'country':'USA', 'browser':'Safari' } ).show()
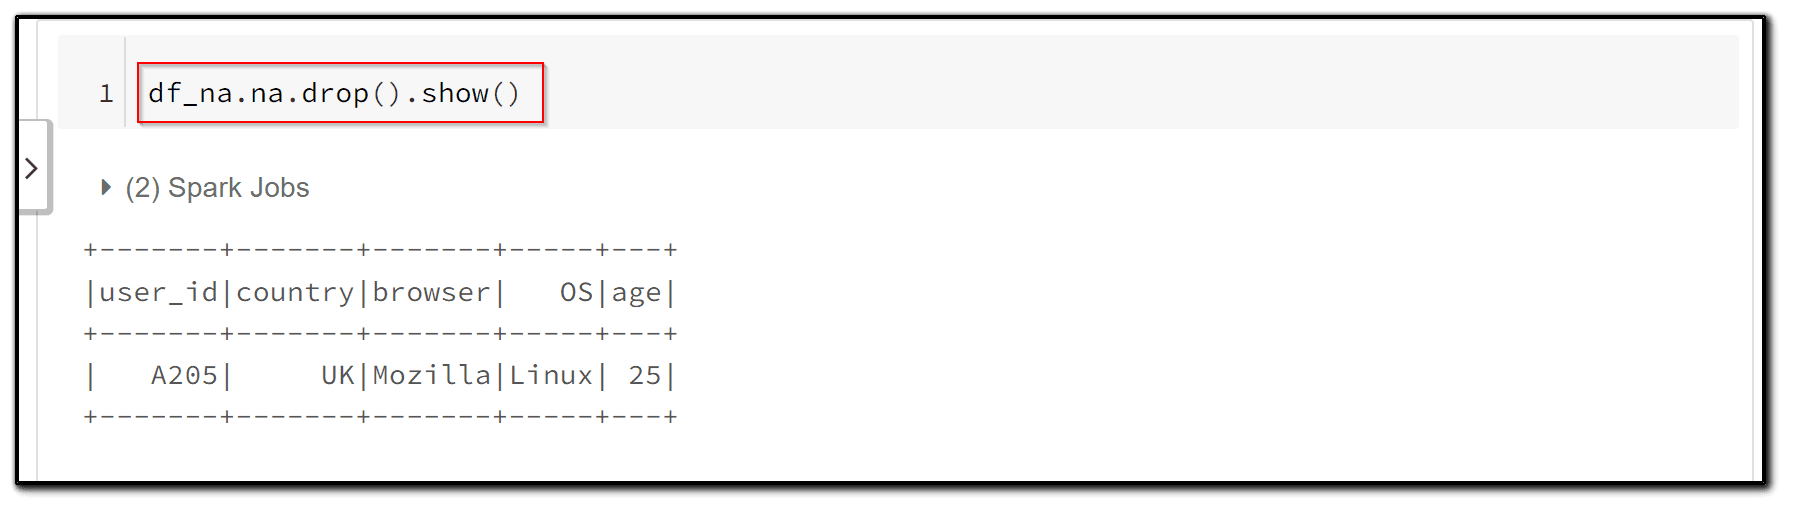
7) In order to drop the rows with any null values, we can simply use the na.drop functionality in PySpark.
df_na.na.drop().show()
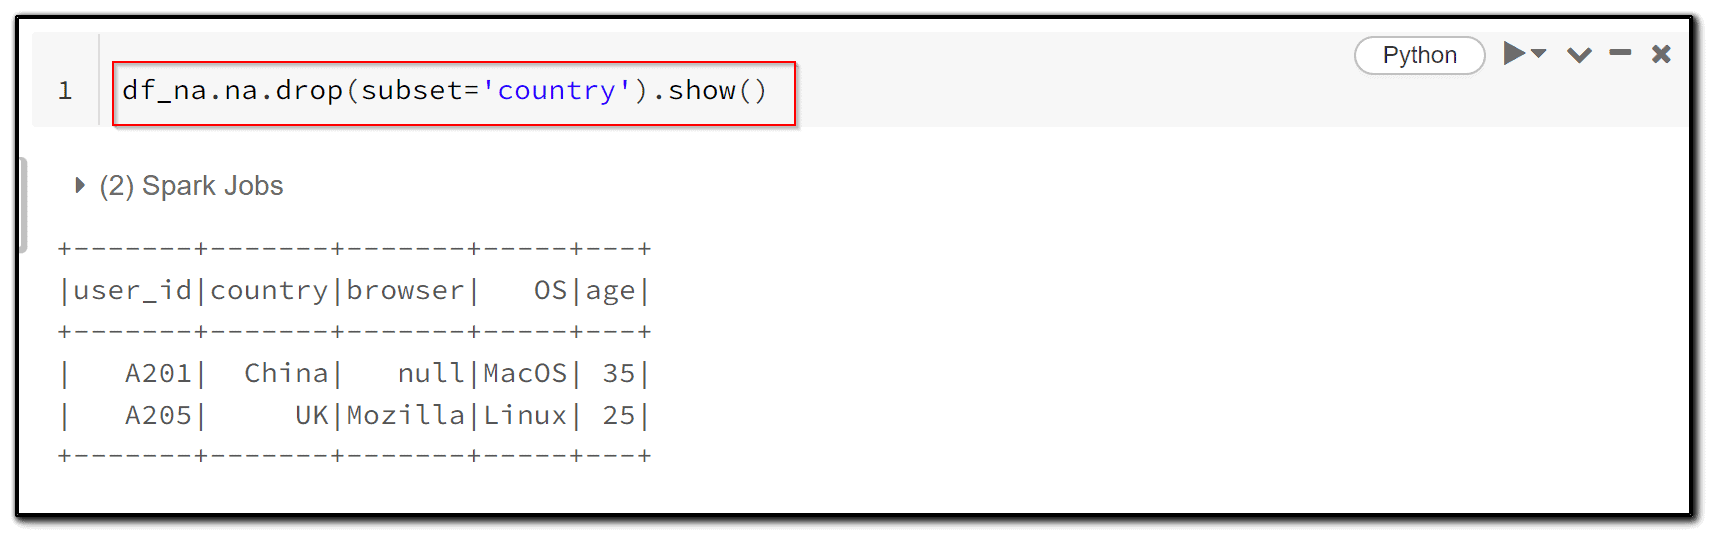
8) we can pass the set of column names as well.
df_na.na.drop(subset='country').show()
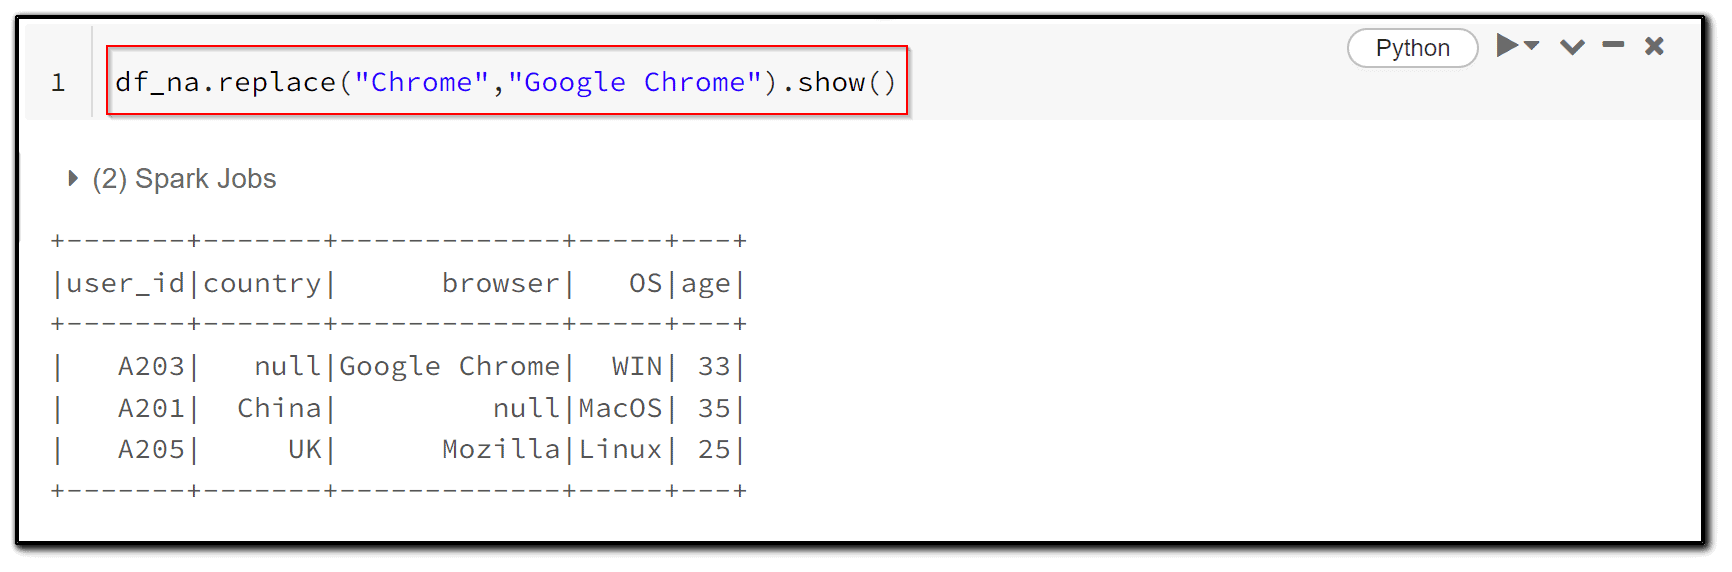
9) Another very common step in data processing is to replace some data points with particular values. We can use the replace function for this.
df_na.replace("Chrome","Google Chrome").show()
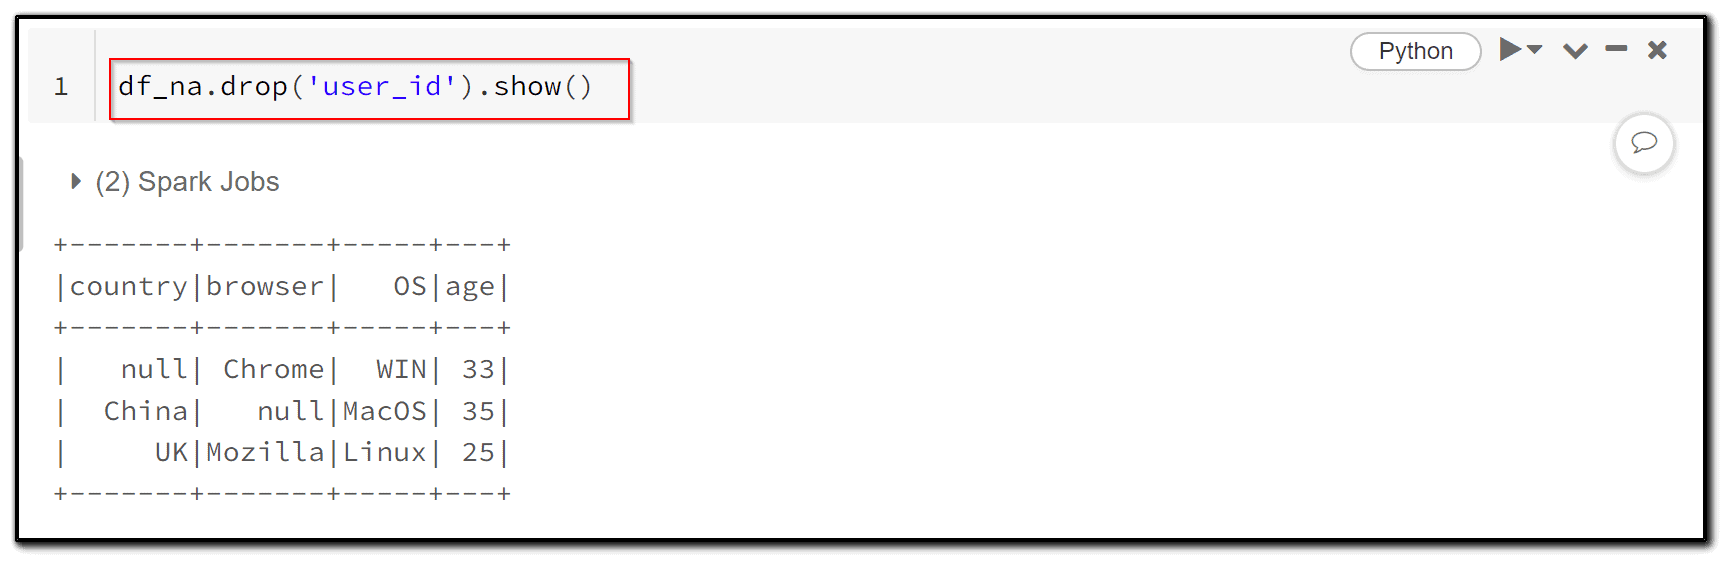
10) To drop the column of a dataframe, we can use the drop functionality of PySpark.
df_na.drop('user_id').show()
Conclusion
In this blog, we discussed different techniques to read, clean, and preprocess data in PySpark.
Related/References
- Microsoft Certified Azure Data Engineer Associate | DP 203 | Step By Step Activity Guides (Hands-On Labs)
- Exam DP-203: Data Engineering on Microsoft Azure
- Azure Data Lake For Beginners: All you Need To Know
- Batch Processing Vs Stream Processing: All you Need To Know
- Introduction to Big Data and Big Data Architectures
Next Task For You
In our Azure Data Engineer training program, we will cover 28 Hands-On Labs. If you want to begin your journey towards becoming a Microsoft Certified: Azure Data Engineer Associate by checking out our FREE CLASS.


Leave a Reply